7 Ways To Hang A Picture Like A Pro
Last Updated on December 6, 2024
Art is on heavy rotation here at the house. So aren’t my walls looking like swiss cheese when my picture frames constantly move from room to room? I’ve got some genius tricks up my sleeve. Here are 7 ways to hang a picture like a pro.
RELATED: Check out this post for my secret sources for buying affordable original artwork.
Table of Contents
How High Should I Hang A Picture?
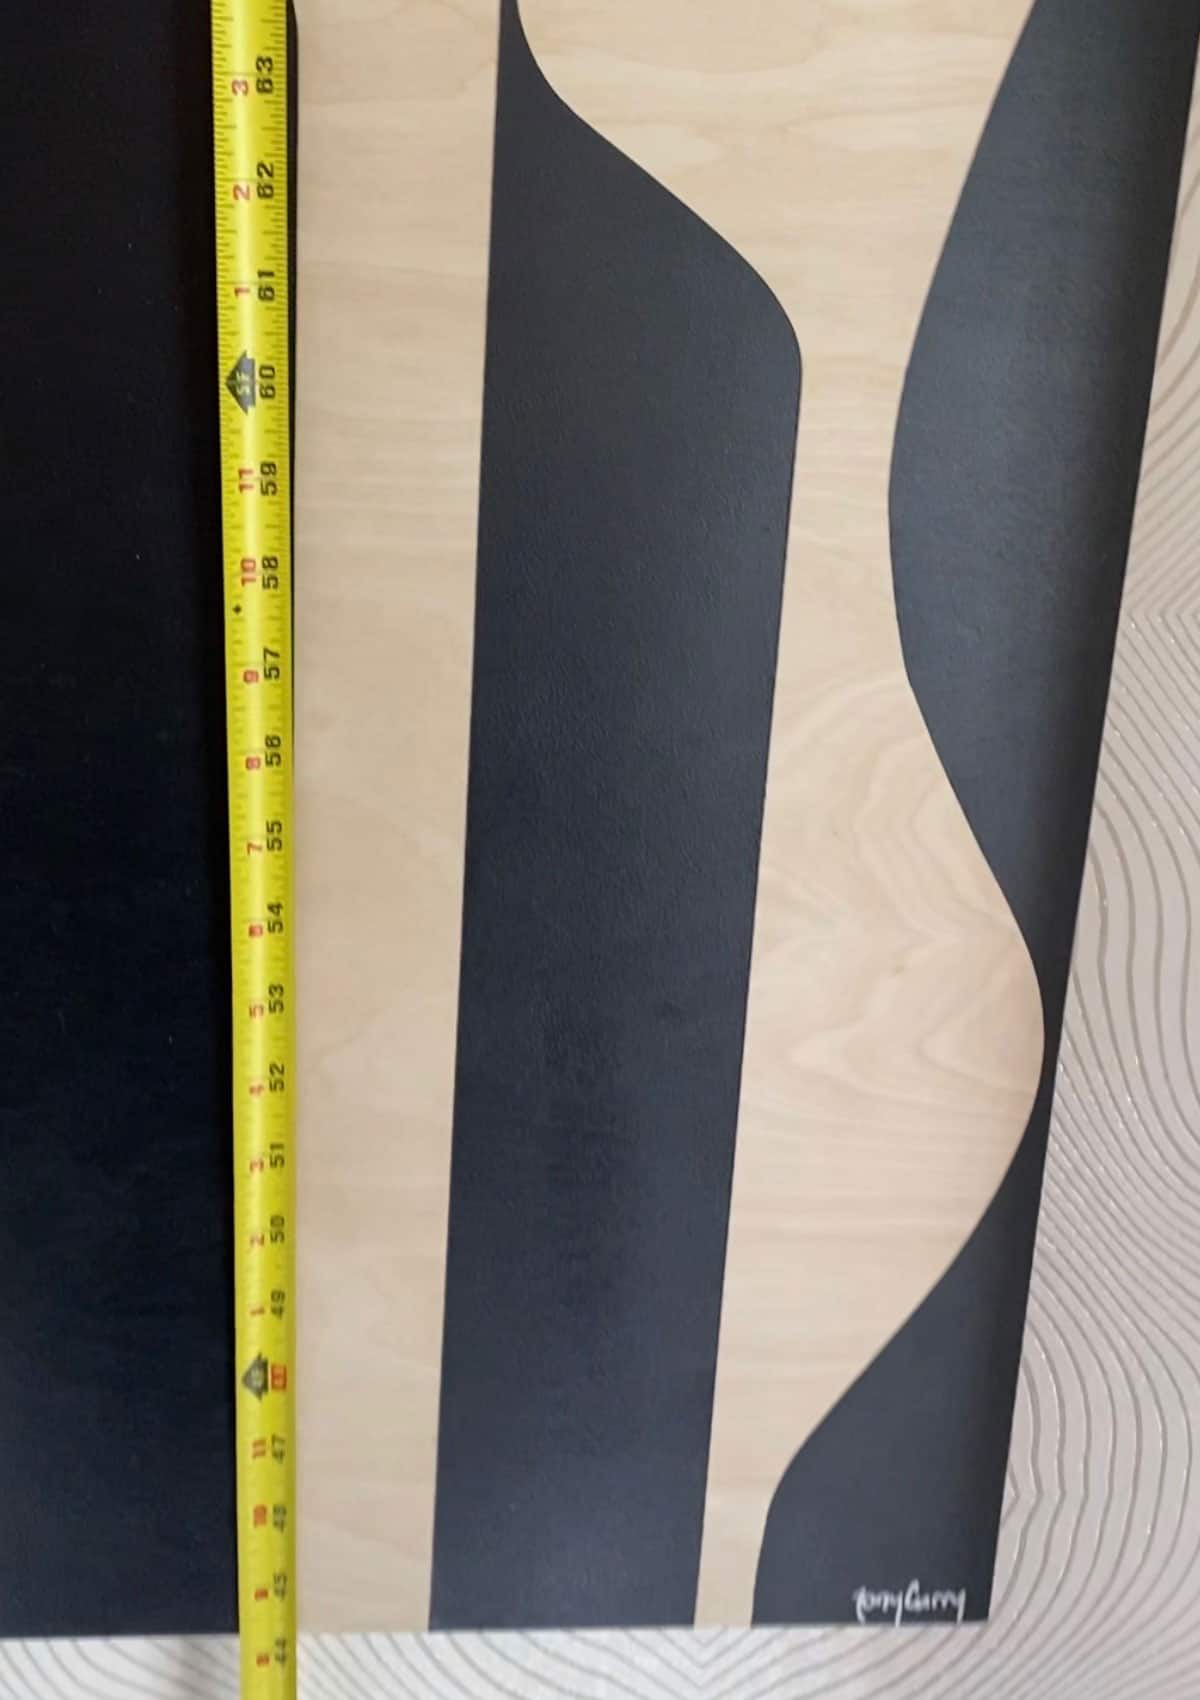
Before we start hanging art, you gotta know the rules to break the rules. How high should you hang a picture is a question I’m frequently asked, and my answer is hang your art 57″ from center. That may not work in every situation, but it’s a good starting point before eyeballing adjustments.
How did this magical number evolve? 57″ from the floor is the average person’s eye-level, and also the rule of thumb galleries and museums use for hanging art.

To hang a picture at the perfect height, you’ll want to measure 57″ from the floor and mark it with a pencil. Next, measure your picture in height and divide by two. Measure the distance between the wire when it’s held taut, the sawtooth, or the double hooks (see below) and add that measurement to 57″ mark on the wall and remark. When hung, the center of your picture should be exactly 57″ from the floor.
What If I Have High Ceilings?
The 57″ from center rule should be adjusted if your ceilings are higher than 8 ft. Art should be hung 60″ from the floor for 9 ft ceilings, and for 10 ft ceilings, art should be hung 62″ from center.

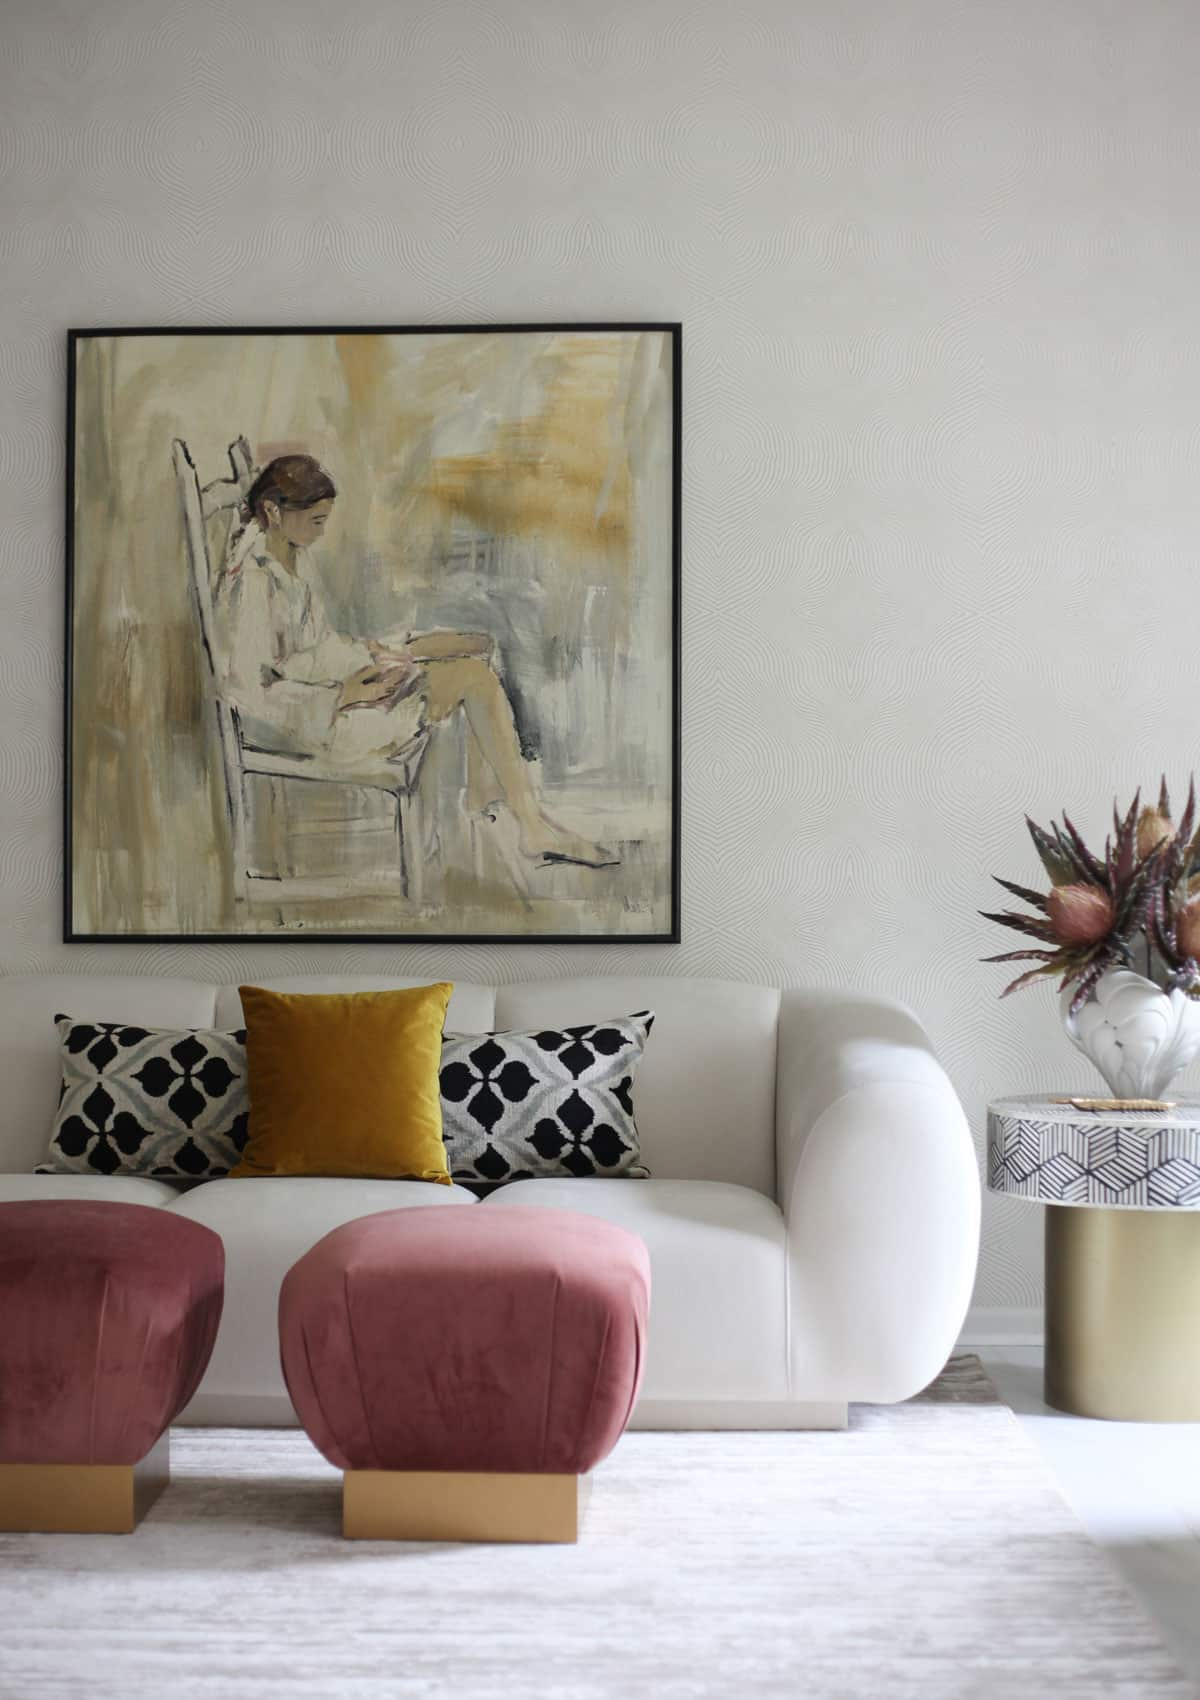
If you are hanging a picture above a bed, it’s doubtful 57″ from center will be high enough to clear the headboard. In this case, you’ll want to hang the art 6-12″ above the headboard—same rule of thumb when hanging art over a sofa. As you can see in the image below, the Gino Hollander painting should be hung a few inches higher. It happens to the best of us.
RELATED: Discover gallery wall ideas for a blank wall with these affordable art prints.
How To Easily Hang A Picture With 2 Hooks
After learning this trick using painter’s tape, my mind was blown, and when I shared it with The Boy, I believe his exact words were, “if this works, I’m going to be so mad.” The video went viral on TikTok. This method works like a charm, and now I no longer dread hanging picture frames with 2 hooks.

Everything you need to hang a frame with 2 D hooks: painter’s tape, a pencil, a level, stud finder, screwdriver/drill, nails, screws, and wall anchors if needed.
- Flip the hooks up, and you may want to ensure they are both mounted at the same height. If the hooks aren’t level, it’s gonna look wonky.
- Take one piece of painter’s tape and stretch it the width of the frame, sticking it to the flipped-up hooks.
- Mark the top center of both hooks on the painter’s tape with your pencil.
- Remove the painter’s tape and stick it to the wall (you can also stick it to your level).
- Grab the level and adjust the tape to ensure the holes are level.
- Use a stud finder to determine if you need nails or drywall anchors and screws.
- Mark your holes with a nail or screw, and remove the tape.
- Grab your nails or anchors and screws. Pop em into the wall.
- That’s it! Hang your art.

What’s The Toothpaste Picture Hanging Hack?
Fresh out of painter’s tape? No worries. Thanks to TikTok, I learned about the toothpaste hanging hack. Grab your Crest – or BOKA Ela Mint if you’re a hot girl living in LA. Flip the 2 hooks up and mark them with a dab of toothpaste. Carefully position the art on the wall and press. Use a level to ensure your holes are straight, and mark with a pencil. Wipe away the toothpaste and drill away. You can also use this trick if you have a sawtooth hook.
RELATED: Check out this round up of affordable TV art you can upload to your Frame TV.
How To Hang A Heavy Picture On Drywall
Most of the art in my home is hung on wall anchors unless the exact placement has a stud (usually spaced 16″ apart).
Wall anchors are your friend if there is no stud. Push the anchor into a pilot hole (made with a drill) and tap it into the wall. Insert a crew into the anchor, and as you tighten it with a screwdriver, the drywall anchor expands and basically clenches itself into the wall to create a secure point to hang your picture.
These drywall anchors hold anything up to 75 lbs, but what if you’re hanging something heavier? The WallClaw Anchor securely holds 90 – 125 lbs. depending on the depth of the wallboard. If you’re hanging a large mirror, this could be the perfect solution.
Hanging Art Without Nails – Perfect Solution For Renters
Last year I moved the Rorschach test cards from the guest bedroom to the living room, but instead of using nails, I used Command Strips. It was my first time, and I was a bit nervous. I mean, it’s like a velcro sticker. Will they really hold? It’s been almost 1 year, and not one frame has fallen—bonus points for no holes in my walls.
They just don’t look right hung over the new Joybird brown leather couch, so I’m contemplating another rotation. Statement art or something more substantial needs to balance out the heavy leather. The Rorschach cards are too light and airy. What do you think?

Research which Command Strips To Use
The Shady Disco Lady was a canvas on a wood frame. I used the large canvas hanger, so the sawtooth ridge grips the art.
I framed the Rorschach cards using my favorite Fineline Frames. I used the sawtooth picture hangers on the backs of the frames to hang this gallery wall. The adhesive strips come in small, medium, and large.
To hang art on a wire hanger, try using the universal frame hanger. It holds up to 8 lbs and is damage free to your walls.
RELATED: Get more ideas on how to decorate with art here.
Tips for using Command Strips successfully:
- Prep the surface by using rubbing alcohol on a cotton ball to remove grime and dust. This helps the strips to adhere to the wall.
- Wait 7-10 days before using them on newly painted walls. You want the fresh coat of paint to cure.
- Use them on smooth surfaces like painted walls, finished wood, painted concrete, laminate, glass, metal, and tiles. Do not use Command Strips on wallpaper, textured walls, or plaster.
- When you remove the strips, pull them straight down. Also, be sure to hang them in the proper direction.
Check out this video on how to used Command Strips to hang art or just watch it below.
Hanging Pictures Without Damaging Wallpaper
Do not use adhesive strips or hooks on wallpaper. If you’ve ever tried removing a sticker from a piece of paper, you know it can rip, no matter how carefully you peel it off. If you have a luxury wallcovering like Phillips Jefferies, you definitely need this picture-hanging hack.

- Take a pencil and lightly mark where you want to hang the art. You can also use chalk to avoid marking the wallpaper.
- Grab a box cutter with a sharp blade and cut a small “X” in the wallpaper (a smidge larger in diameter than the wall anchor or screw head).
- Carefully peel back the paper to reveal a square-shaped area on the wall.
- Now you have space for the anchor, screw, or nail, avoiding that nasty hole in the paper.
When moving the picture, simply remove the screw and carefully glue the wallpaper back into place. No one will ever notice that little incision. It’s like plastic surgery for wallpaper.
RELATED: Wallpaper can get pricy. Learn my 5 tips to cut the cost of wallpaper.
What Is The Fork Trick?
How many times have you tried to get that pesky wire to catch the nail on the wall? Grab yourself a fork and simply slide the tines over the nail. The backside of the fork should be against the wall, the handle side up. Slip the wire of your picture frame over the fork handle. Let the wire rest on the nail, and carefully remove the fork. Voila.
Use Wrapping Paper To Hang A Gallery Wall
If you’re creating a gallery wall without the handy dandy paper guide that comes with a kit, use old wrapping paper to help make hanging a gallery wall a piece of cake.
- Cut the wrapping paper to the size of each frame.
- Tape the paper to the wall using painter’s tape.
- Move the paper around until you have the perfect layout.
- After marking the hooks (using the tape hanging tips above) of the picture frames, stick the painter’s tape to the wrapping paper in the same spot as the hook(s).
- Make sure your tape is level if hanging a double hook frame.
- Mark the holes with a nail, creating a slight indentation in the wall.
- Drill and hang your art.

This gallery wall is still hung 57″ from the center. Wait, what? The center frame is hung 57″ from the floor.
Are you ready to hang a picture in your home? I think you’re ready to hang pictures like a pro. You’ve got this! Be sure to bookmark, share, and pin this post for future reference.

More Eclectic Home Decor Ideas and Interior Design Tips
Find affordable velvet curtains to cozy up your space and soften your windows.
Looking to decorate on a budget? Check out these clever ideas.
If you want to spruce your backyard, check out this round-up of the best outdoor patio furniture.
Rounding up the best interior design books – if you’re looking for gift idea inspiration for a home decor obsessed loved one, this post is for you!
Love plants as decor but have a black thumb? No worries! I have a rounds ups of the best faux olive trees, my favorite faux fiddle leaf fig trees, and a huge round-up of faux plants that look real.
Thinking about joining a country club? Before doing so, read my review of the Biltmore Country Club. You may rethink that decision.
If you want to make your home a bit smarter, check out the best smart home devices I’ve tested, and my post about smart lighting for your home.
