How To Change A Light Fixture
Last Updated on December 6, 2024
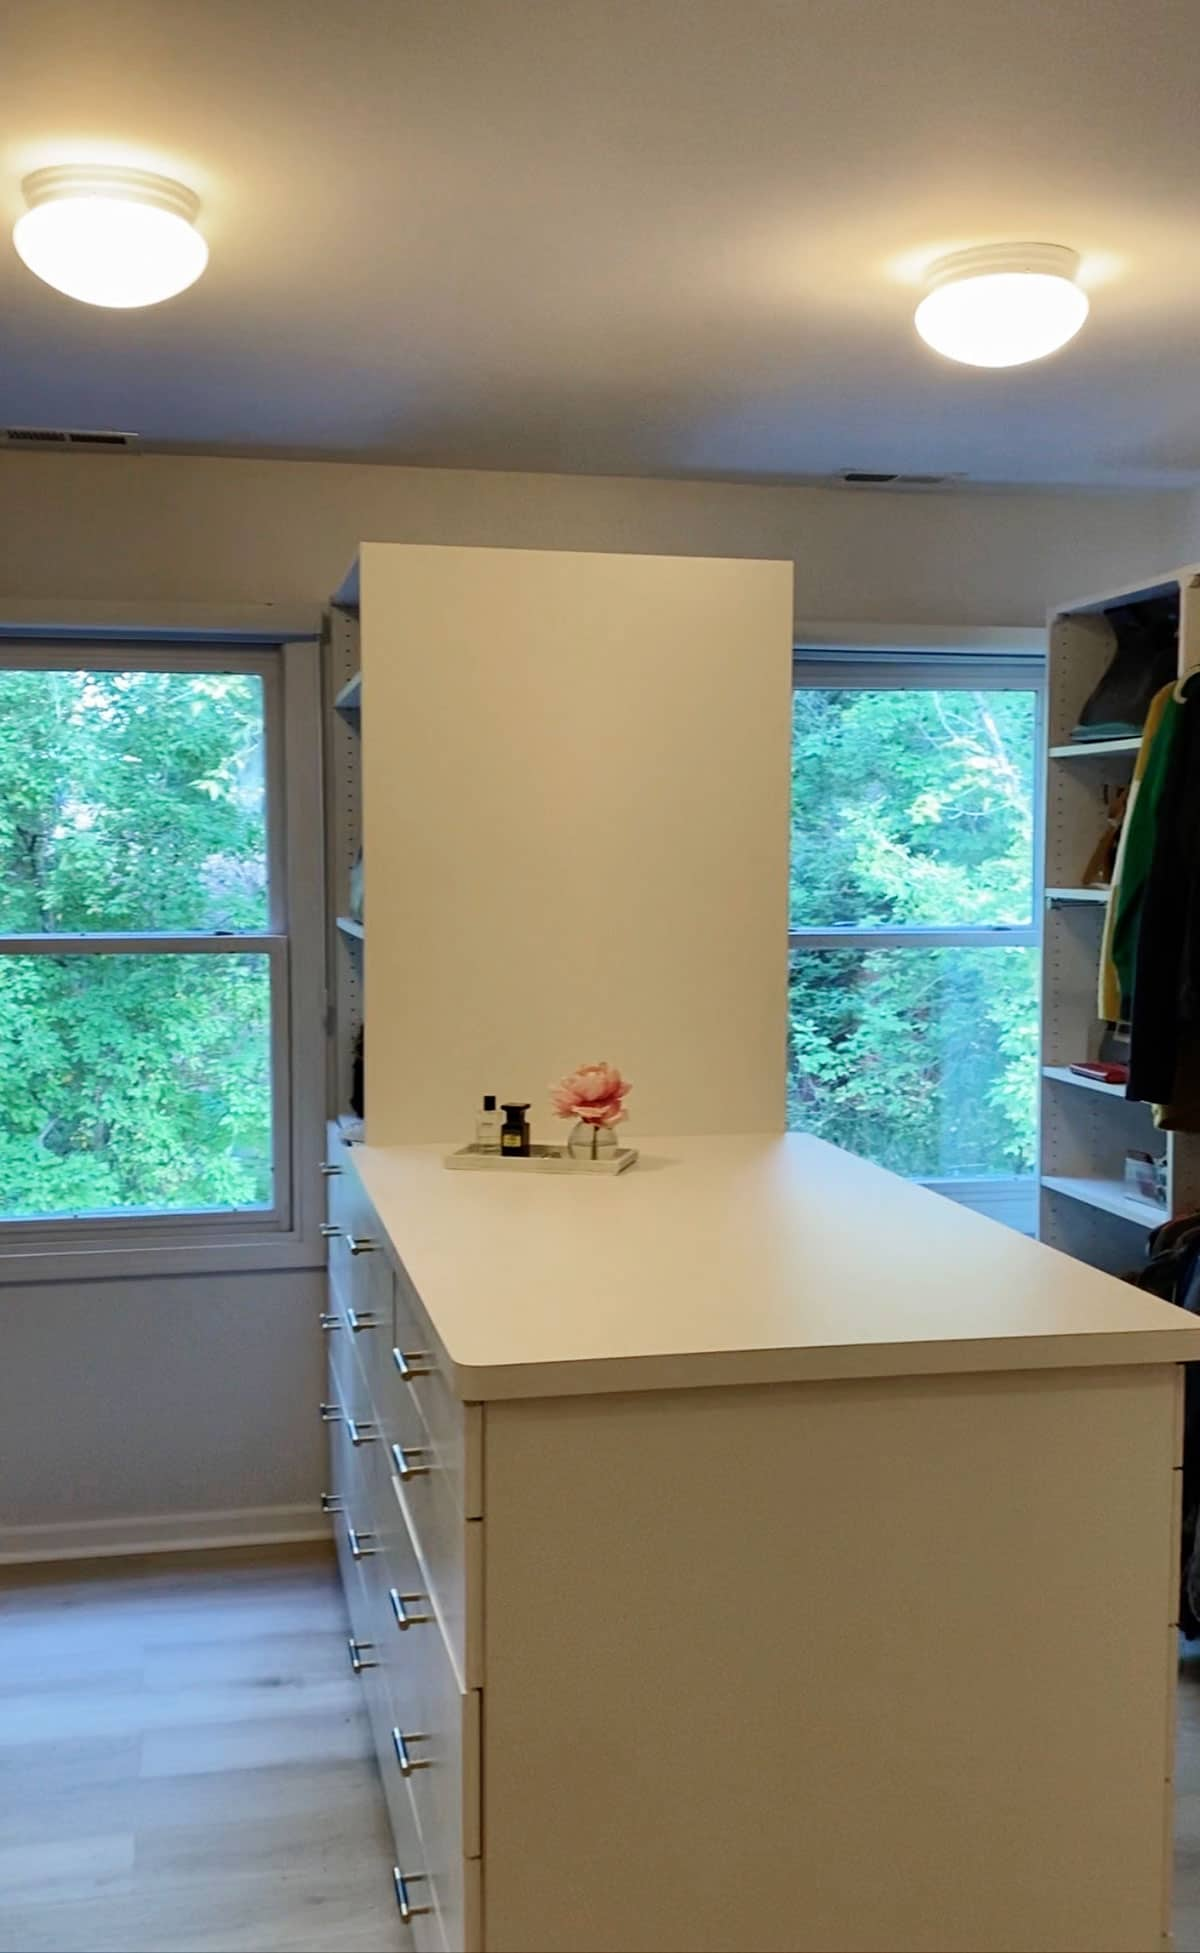
If installing a new ceiling light feels like a daunting project, then today’s post on how to change a light fixture is for you! During the closet renovation, I replaced the three existing boob lights with these flush mount lights. After being on backorder for months, they finally arrived. At the same time, I received a comment asking if I hired an electrician to install the new ceiling lights. Nope, we did that ourselves. Although replacing a ceiling light fixture seems a bit intimidating, it’s quite easy to DIY once you get over the fear of getting electrocuted. Let’s dive in!

Supplies You’ll Need To Change A Light Fixture
- Screwdriver or Drill – this cordless DeWalt Drill is my favorite (and is presently on sale).
- Voltage Tester
- New Ceiling Light Fixture – semi-flush mount shown here
- Wire Stripper
- Wire Connector Nuts
How To Change A Light Fixture In 5 Easy Steps
I will say replacing a ceiling light is easier with two people. When it comes to holding the light fixture and connecting the wires, it’s nice to have an extra set of hands.
Step 1 Replacing A Ceiling Light — Turn Off The Power
When installing a light fixture, the most important step is triple check that you’ve turned off the power. No one needs to get zapped. When we change out a light fixture, not only do we flip the breaker on the main service panel, but we turn the physical light switch off as well. It might sound crazy, but we have old electrical in our home, and sometimes it’s a bit wonky.
Step 2 Remove the Old Ceiling Light
Now it’s time for the fun part — out with the old! Let’s remove that outdated ceiling light. All lighting is different, but look for screws in the globe, or if it’s a shade, there should be some sort of unhooking mechanism. Once the old fixture is removed, you’ll also want to remove the ceiling light base from the junction box. Once you’ve removed the fixture from the ceiling, you should see wires. Don’t touch those yet!

Step 3 Triple Check That The Power Is Off
Since our main priority is not getting zapped, grab your voltage tester to ensure the power is off. Yes, I know you flipped the breaker, and the physical light switch is in the off position, but guess what? I did that same thing in my dining room, and those wires were still live AF. Before you start disconnecting the wires, use the voltage tester on all of them to be positive there’s no correct running through those wires. Don’t be intimidated. Just be smart.
Once you’ve tested the wires, unscrew the wire connector nuts from the old ceiling light. A standard outlet box for a light fixture should have three wires. If you have newer electrical in your home, your wires should be black (live current), white (neutral), and green or copper (ground wire). But if you have Curto wiring like me, it’s a crap shoot. Curto is the former owner of our home, and if your wiring looks like mine, be extra careful…when our house hurts us, we call that getting Curto’d. Once the wires are disconnected, you’ll also want to remove the old mounting plate.
Step 4 Replacing A Ceiling Light — Wiring
If you haven’t already unboxed your new ceiling light fixture, now is the time. If it’s a glass globe or a fragile shade, sometimes I’ll lay it on a towel on the floor. This is just me being extra careful not to break, drop, or scratch my new light. Once you remove the fixture base from the box, look at the wires. Again, you’ll probably find three, and hopefully, they are color coded properly, unlike mine.
Before you connect the wires from the new fixture base to the junction box, locate the new mounting plate. All new ceiling light fixtures should come with their own, and if your new light is a heavy fixture, it may come with an extra center bolt.
Step 5 Installing Your New Ceiling Light
There are a couple of different ways the wiring could be connected. In both situations, I use my wire stripper to remove less than an inch of the wire sheath. If you have a screw connection, bend the wire into a U-shade and wrap it around the screw before tightening.
The black or red wire goes to the gold screw. The white wire will go to the silver screw, and the green or copper will go to the green screw. If there are no screws, you’ll want to attach wires to wires by twisting the matching wire colors together. Don’t leave bare wires exposed — cover the twisted connection with a wire connector nut. If extra coverage is necessary, use electrical tape.
Do not mix up your neutral and live wires while replacing your ceiling light fixture. If you do, it can short circuit, shock you, and even cause a fire.
Once you’ve rewired your new light and attached the fixture base to the ceiling, it’s time to add your light bulbs (with appropriate wattage, of course) and attach the globe or shade to the base. Flip that breaker back on and turn on your light! You did it! You replaced a ceiling light all by yourself!
RELATED: These light fixtures we recently featured in the bedroom closet remodel. See the full reveal.
Adding Character To Your Ceiling Light
If you want to level up the design on your ceiling lights and add a bit of shazam, look at installing a ceiling medallion. The mix of a traditional ceiling medallion paired with a modern pendant light is so chic.
Find More Eclectic Home Decor Ideas and Interior Design Inspiration
Make this artificial flower arrangement in resin DIY with this easy tutorial.
Getting rid of the brick fireplace in our living room and jumping into a Modern Fireplace Makeover. Check out the progress and then hop over for some mantel decor ideas.
Looking for something out of the ordinary? Check out these unique modern vases that add a touch of artistry and elegance to your home decor.
Cane and rattan are trending hard in the interior design world. Find the Best Cane Furniture online shopping sources.
Have you noticed the cute mushroom decor that is popping up everywhere? Jump on this trend with my top decor picks!