Last Updated on December 5, 2024
Ho! Ho! Ho! Today is Thursday, and you have less than one week before Christmas. Those boxes aren’t wrapping themselves. But don’t you fret; I’ve got you covered. This easy step-by-step guide on how to make a bow with ribbon will teach you how to wrap your gifts like a professional the simple way. Click for a free gift tag printable if you forgot to pick some up.
Table of Contents
Level Up Your Gift Wrapping Game With This Easy Bow Making Tutorial
A fancy gift bow always adds extra polish to any present or wreath. Ever wonder how they’re made? You’re probably thinking bow-making takes hours. Nope, not at all. You just need the right tools. My secret weapon is wired ribbon.
Today, I’m going to pass this gift-wrapping knowledge on to you without the possibility of wrapping yourself like a mummy and coming out of the battle one finger short. Are you ready to give your boxes the gift of glam?
RELATED: If you’re looking for holiday gift giving ideas, check out these unique holiday gift guides.
Everything You Need To Make A Bow With Ribbon
Gift Wrap — do yourself a favor and spend the extra money on paper with a heavier stock. The cheap stuff is so flimsy that it rips if you breathe on it wrong.
Scissors – of course, I have to own the fancy gold Nate Berkus scissors.
Metal Wire – jewelry wire or florist wire also works. I personally like the clear-coated wire when making a gift bow because it’s camouflaged.
Wired Ribbon – You can use a simple satin or grosgrain ribbon, but if you want the super easy bow-making experience, the wired ribbon is easier to mold and twist.
Pro Tip: Avoid wrapping paper covered in glitter. It’s beautiful to look at, but the sparkle bomb is a complete mess. You’ll be vacuuming glitter into July, and no one needs that.
Step By Step Instructions For How To Tie A Gift Bow
1. Trim Your Ribbon
To ensure I have enough ribbon, I like to drag it over the width and length of my package before cutting. Basically, enough to wrap around all edges and tie a knot with a bit of excess.
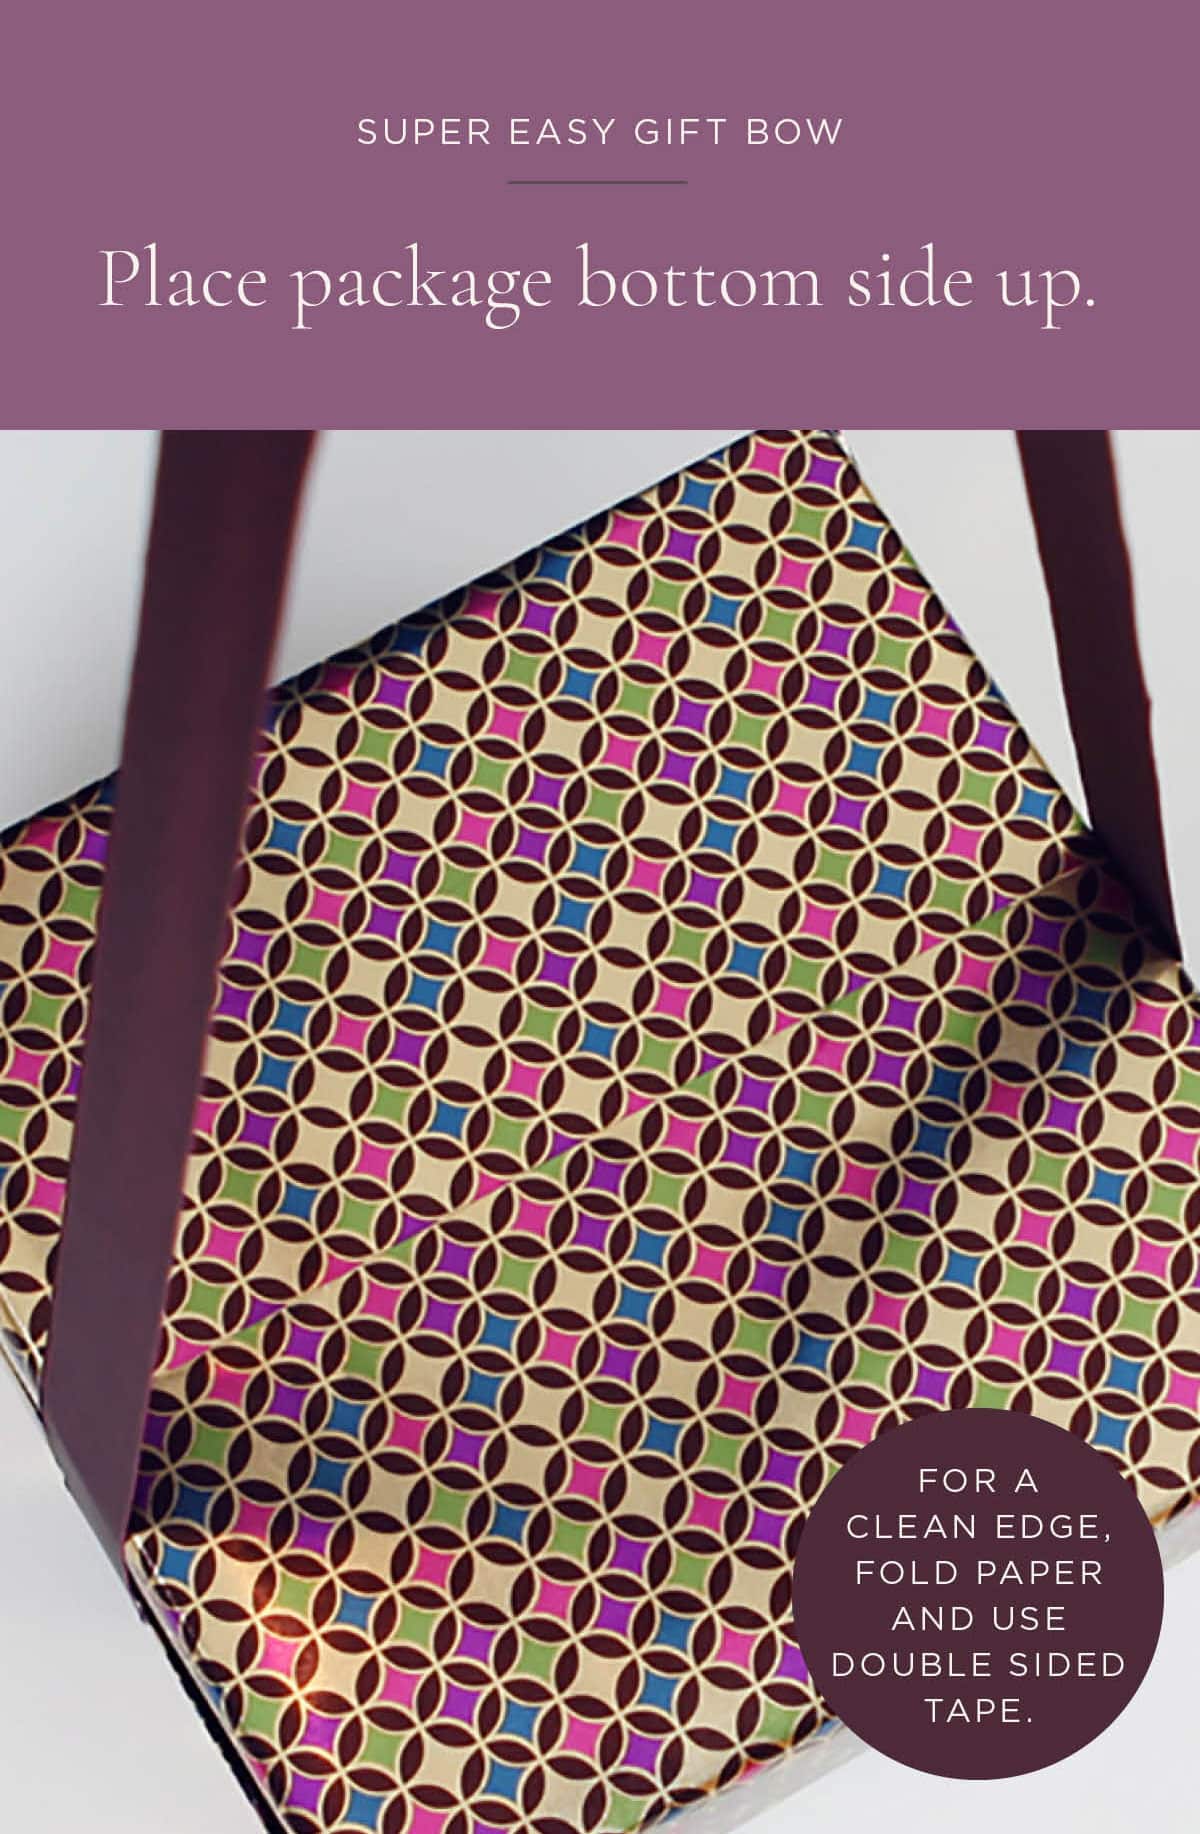
2. Center The Gift Wrapped Box Over Ribbon
Cut the ribbon, lay it flat, and center the box face down. Grab each end and pull up on the ribbon.
3. Give It A Twist
Give the ribbon a half twist in the center,

4. Flip The Box
Flip the box right side up, and tie a knot. Believe it or not, that was the hardest part.
5. Grab The Wire
Remember that metallic wire ribbon? Yea, you need a bit of that right now. Cut a 4-5″ piece and set it to the side.
6. Cut Extra Ribbon For The Bow
Take a separate piece of ribbon; mine is 4-5 ft long, and start to fold it over on itself like so.
7. Cut The Middle Section
Cut a small triangle on either side in the middle. Mine is a bit off, but that’s okay. No one will ever know. Be sure not to cut the two endpoints of the triangles too close, or your ribbon will fall apart.
8. Fold Ribbon And Secure With Wire
Grab your wire and wrap it around the cut triangles. Secure with a fold of the ribbon and twist the wire a few times.
Ugh, I really need a manicure! Anyhoo, now comes the fun part. You want to fluff your bow.
I’m basically pulling on a loop and giving it a good half a twist, pulling it towards me. Repeat with each loop. I like to start with the innermost loop on one side and work my way to the outside loop. Then switch sides, repeat.
RELATED: Don’t miss this post for simple holiday mantel decor.
9. Secure The Gift Bow To Package
Once fluffed, take the ends of the wiring and secure it to your package by looping it under the knot on the box and twisting.
You may need to re-fluff your bow if you just crushed it a bit.
10. Finishing Touch To The Gift Bow
Remember that excess ribbon when you tied your first knot? Grab your scissors and angle-cut the ends to give it a finishing touch.
More Tips For Gift Wrapping Like A Pro
Before cutting the wrapping paper, eyeball how much you’ll need and trim. Do not use an oversized piece of gift wrap because 1. you’re wasting paper, and 2. the extra paper makes it more challenging to wrap.
For a cleaner edge, fold the gift paper at the edge and use double-sided tape to secure it.
And there you have it, young padawan! A Pinterest-perfect super easy gift bow that looks pretty flippin’ amazing! You guys have an excellent weekend, and Happy Holidays!
RELATED: If you’re looking for favorite things gift ideas under $25, check out this post.
Discover More Easy DIY Craft Tutorials
Check out these seven expert ways to hang art like a pro.
Create another beginner Cricut project with this custom-designed mug with a Cricut Mug Press. They make for the perfect holiday gift.
My favorite DIY is this artificial flower arrangement in resin water.
The most popular DIY on the blog are these marbled mugs dipped in nail polish. The Pioneer Woman features them yearly in a DIY Christmas gift roundup, and the crowd goes wild. Who knew?!?
Check out last year’s holiday home tour and get inspired with these Christmas decorating ideas.