Last Updated on December 4, 2024
Closets…they’re boring, right? They don’t have to be when you’ve taken How To Wallpaper 101. Miles Redd changed my mind when I heard him speak at the Design Influencers Conference last Spring. His argument, in a nutshell, imagine yourself as a guest, standing in a foyer. The homeowner says, “May I take your coat?” The closet door opens and shazam! Tiny jewelry box surprise is hidden inside. Before we get into the tutorial, if you’re looking for some budget-friendly ideas to the cost of wallpaper, check out that link.
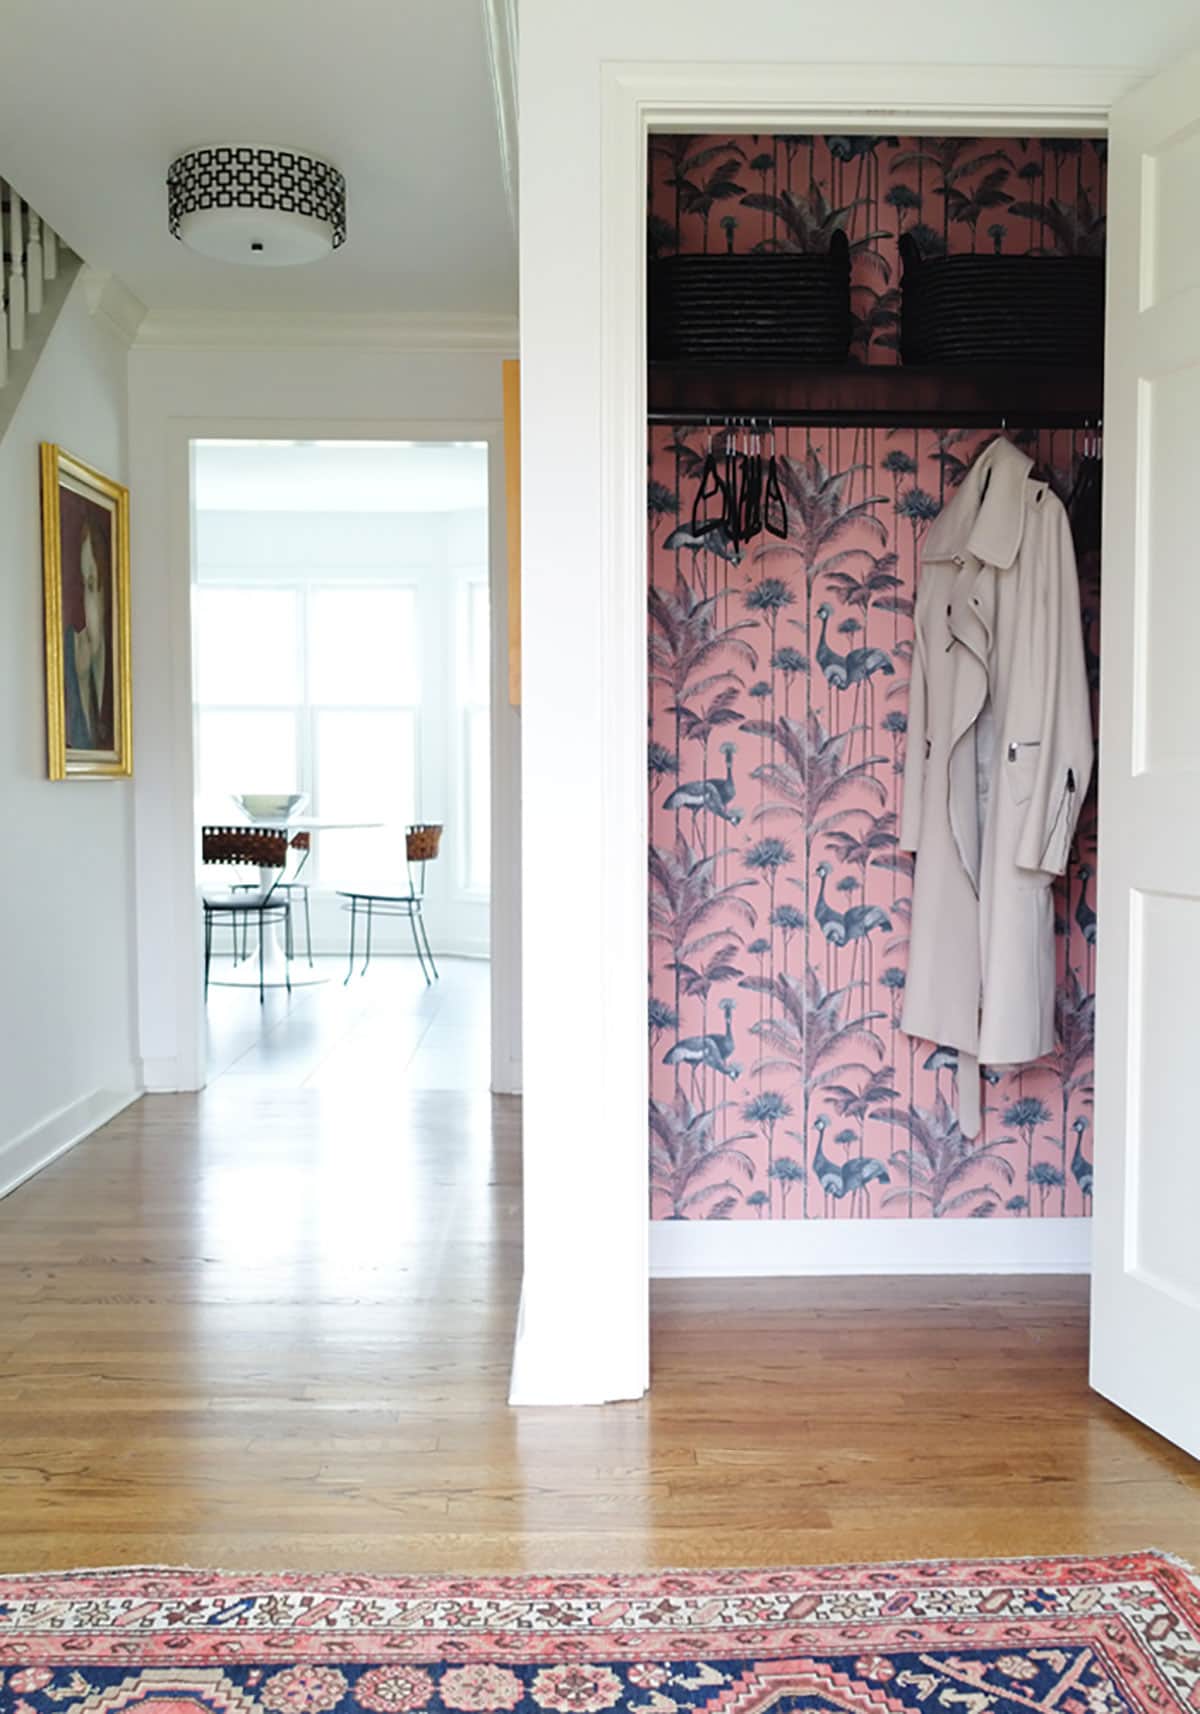
This idea swam around in my brain all last year, and I searched for just the right wallpaper to bring it to life. While perusing Instagram, I stumbled upon Divine Savages Crane Fonda pattern. This ain’t your grandma’s wallpaper. ERMERGERD pink pattern play perfection.
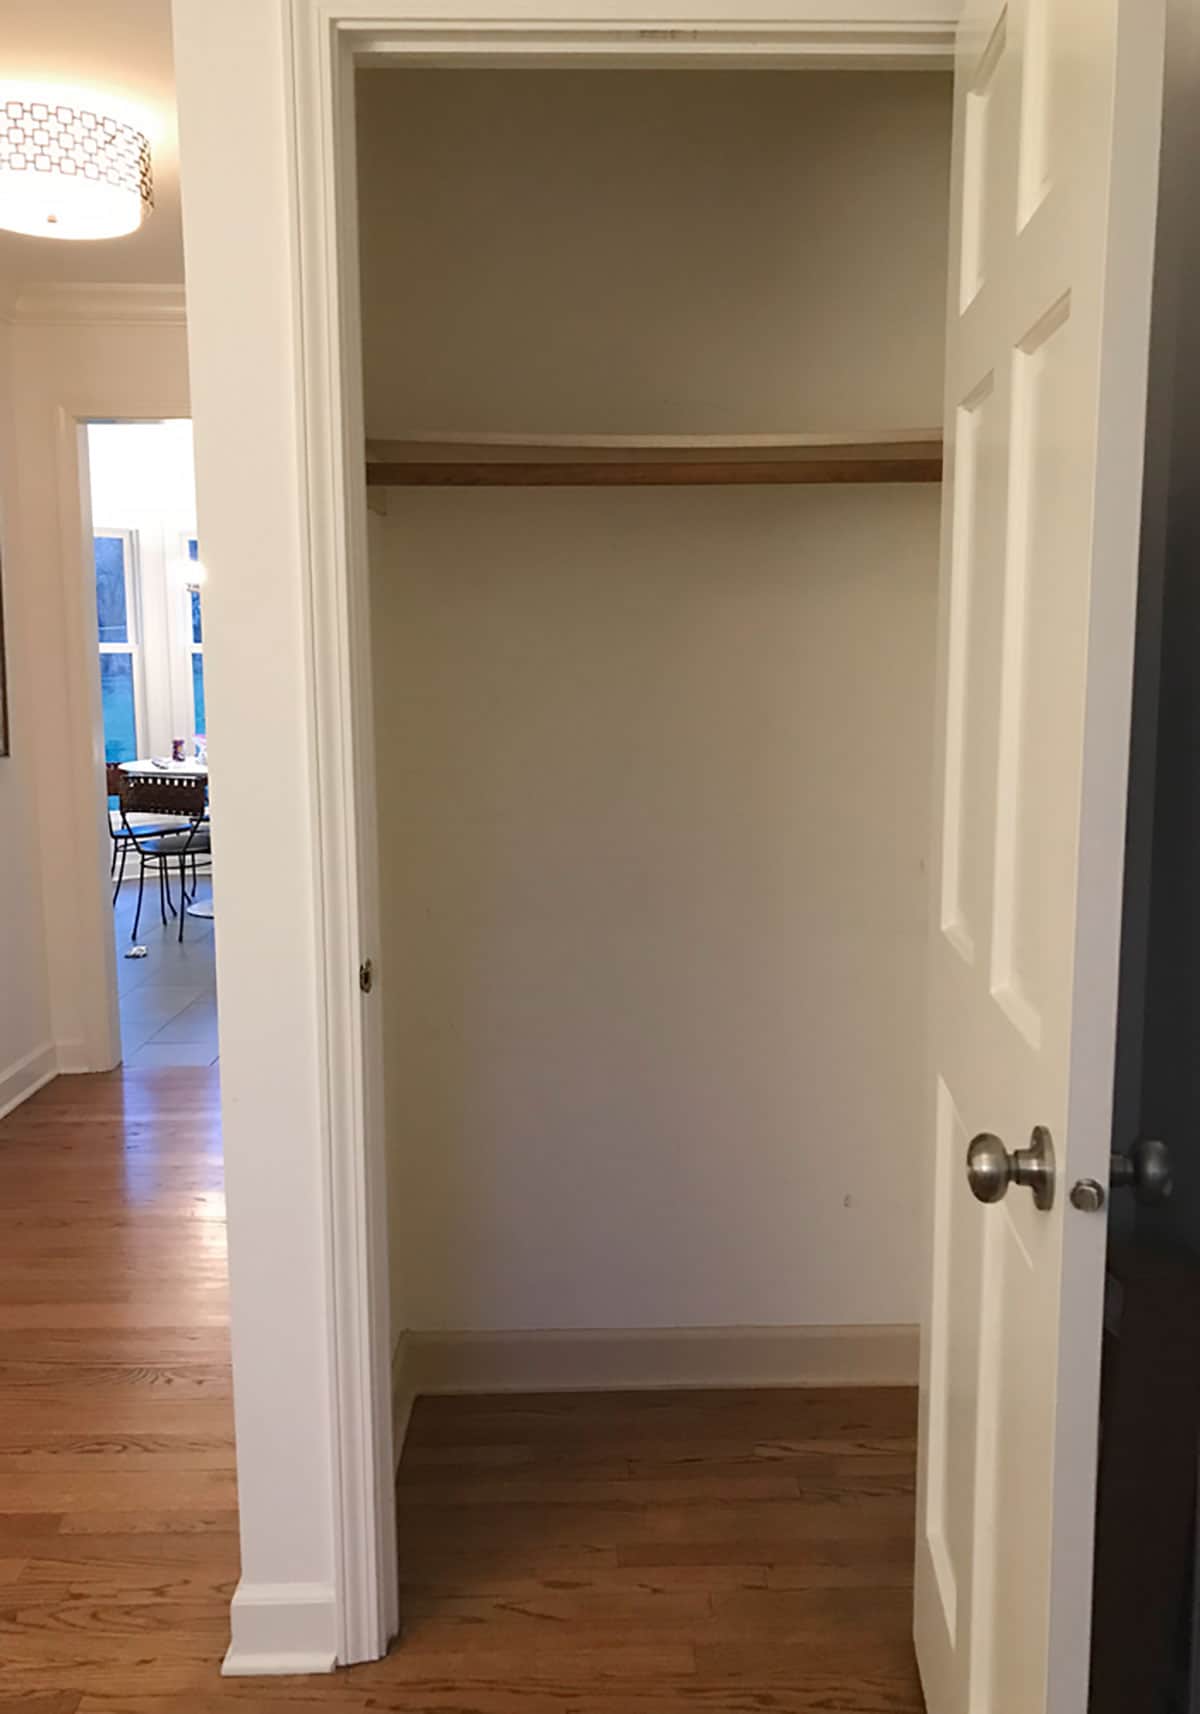
Table of Contents
How To Wallpaper 101
Now, please note, I’ve never wallpapered anything in my life. I’ve paid someone to do it, but a DIY no. Nervous was an understatement. The paper arrived right before the holiday party I was hosting, and I told The Boy Crane Fonda must be installed before that Thursday at 7 pm. Thrilled he was not. Here are the supplies we needed for our weekend wallpapering project.

Supplies Needed For Your Wallpaper Project
Wallpaper – Crane Fonda
Drop Cloth
Painter’s Tape
Wallpaper Primer
Spackle
Putty Knife
Plumb Line
Wallpaper Paste
Wallpaper Smoothing Tool
Level Tool
Paint Roller and Tray
Seam Roller
Tape Measure
Pencil
Sponge
We rochambeau’d, and I handed him a list of everything needed for the project, and he was on his way to Home Depot. Again, unthrilled. Meanwhile, I Googled how to wallpapering 101 and found some great tutorials on YouTube. Gawd, I love the internet. It looked easy enough. Slap on some paste, press, and smooth, right?
The condition of our closet walls was good. A bit of spackling and sanding was required when we removed the existing rod and shelf. To ensure your wallpaper adheres properly, prep your walls with an acrylic primer or sizing.
Once your walls are dry, draw a vertical plumb line using the level and pencil. Measure the height of the wall from floor to ceiling. Add 4″-5″ to the length to allow for final trimming. Cut your paper.
Before hanging the first strip, we found it best to measure the second panel based on the repeat. Line the pattern up and cut the second panel.
Before you apply the wallpaper paste, be sure to check the directions. Some wallpapers require you to add the paste to the back of the paper. Some are pre-glued. This particular paper requires you to roll the paste onto the wall.
After the how to wallpaper 101 crash course, we set up shop in the foyer. I became the cheerleader slash assistant. Here goes nothin’. Now, I have this horrible reaction of laughing when I’m scared, nervous or someone gets hurt. To boot, The Boy is full of dry sarcasm, making me laugh even harder. When he sang “fat guy in a tiny room,” I almost peed. Tears streaming down my face, laughing. The first panel of wallpaper went up, and it looked a-mazing! Even more sweat and swearing ensued. Uh dude, calm yourself…besides you’re doing great!
Carefully hang the first panel to the wall using the plumb line as your guide. Sweating and swearing will ensue…completely normal. Once the paper is in place, smooth it out carefully with your hand and then with the wallpaper smoother to remove any bubbles.
If you get a bubble you can’t remove, don’t panic. Use the utility knife to slit the bubble. Using a syringe, squirt some glue into the opening. Deflate the bubble with a roller and wipe any excess adhesive with a damp sponge.
Trim the excess paper from the first sheet using a straight edge and a utility knife.
Before hanging the second panel, line up the next few panels. It’s much easier to match the repeat.
Now, it’s time to hang the second sheet. Roll the paste on the wall and carefully butt the sheets up against one another. The Boy found it best to begin by lining up the pattern at eye level. Again, smooth the paper with your hand and then give it a good once over with the smoother.
Use the seam roller to ensure the edges are completely tacked down. If you encounter excess glue, wipe it off with a wet sponge.
If you encounter a small gap, don’t fret. A pro wallpaper installer told me to touch up any seems with watercolor paint. And no matter how hard you try, you’ll never match it perfectly. It’s okay. The only person who will notice is you.
Looking back on it, wallpapering a closet was slightly hectic, to say the least. The space was tiny, dark, and every panel had a corner. We tackled probably the most difficult space in the house. Was it worth it? Absofreakinlutely. Miles Redd, you sir are a genius! Was the wallpapered closet surprise a hit for the party? Yes, indeed! Would I do it again? Fo sho without a doubt. It’s a great way to make an organizational space super fun, and the fancy florals and bold graphics add a bit of hummena, hummena, hummena to what’s normally boring and bland.
To finish off the look, I painted the existing rod and shelf in a high gloss black paint and added black baskets (no longer available) and black coat hangers. It was a hit at the party!
Would I change anything? Yes. I’m thinking about having an electrician install lighting. That top shelf feels a bit dark, but for now, Imma save my pennies. I’m also searching for a new doorknob. I think the jewelry box needs something a bit extra.
If you’re looking for bold, quirky, and playful wallpaper, give Divine Savages a looksy. I’ve got my eye on Safari Soireé for my next project. A giraffe wearing a suit. A tiger dancing with a flamingo. A zebra doing the can-can. Mind blown.
Discover More Home Decor Inspiration On House Of Hipsters
If you’re looking for ideas on how to decorate on a budget, don’t miss this post.
Click on this post for the ultimate guide to the best sheets for a cozy night’s sleep.
This post will teach you how to make your home look expensive without spending much money.
Learn how to choose fabric for your next upholstery project.