Last Updated on January 7, 2024
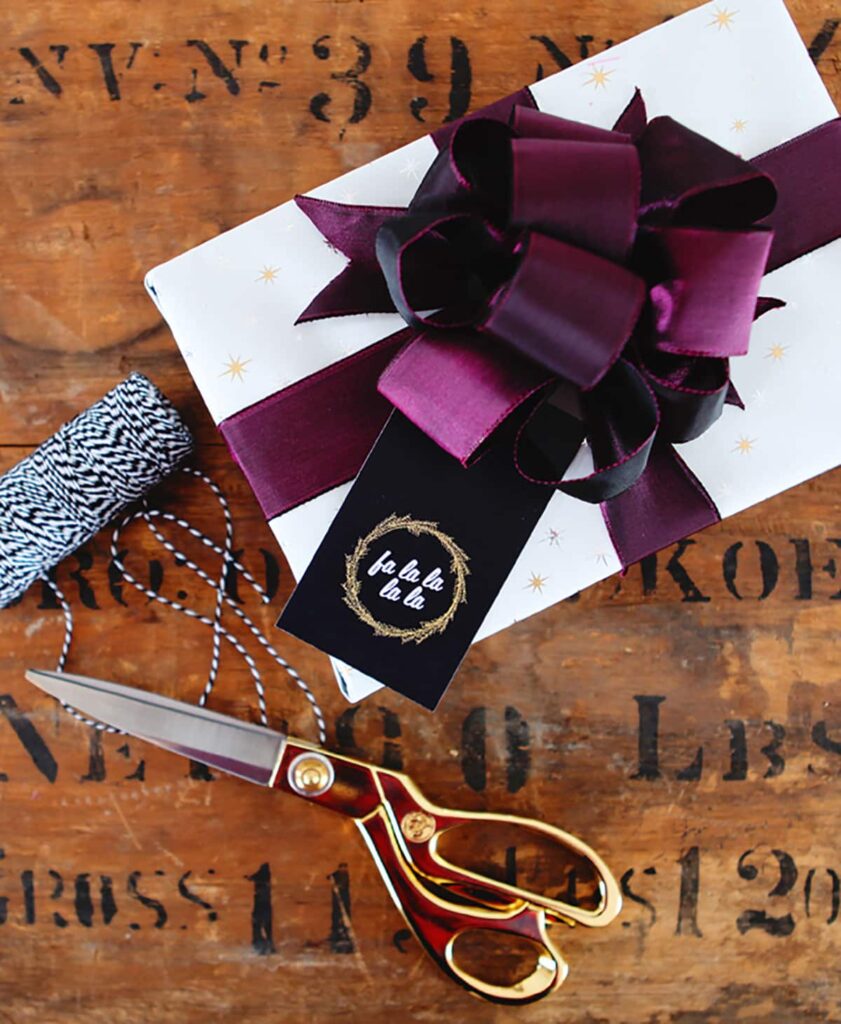
If you forgot to purchase gift tags for your holiday gifts, do not fret! Here is a free printable for DIY holiday gift tags. Simply download and print! I had started designing these a while back but became too busy to finish, but still itching to complete. The nudge towards December was just the shove I needed to put on the final touches.
Table of Contents
Download These Free Holiday Gift Tag Printables
RELATED: Learn my super easy bow making technique and elevate the look of any gift.
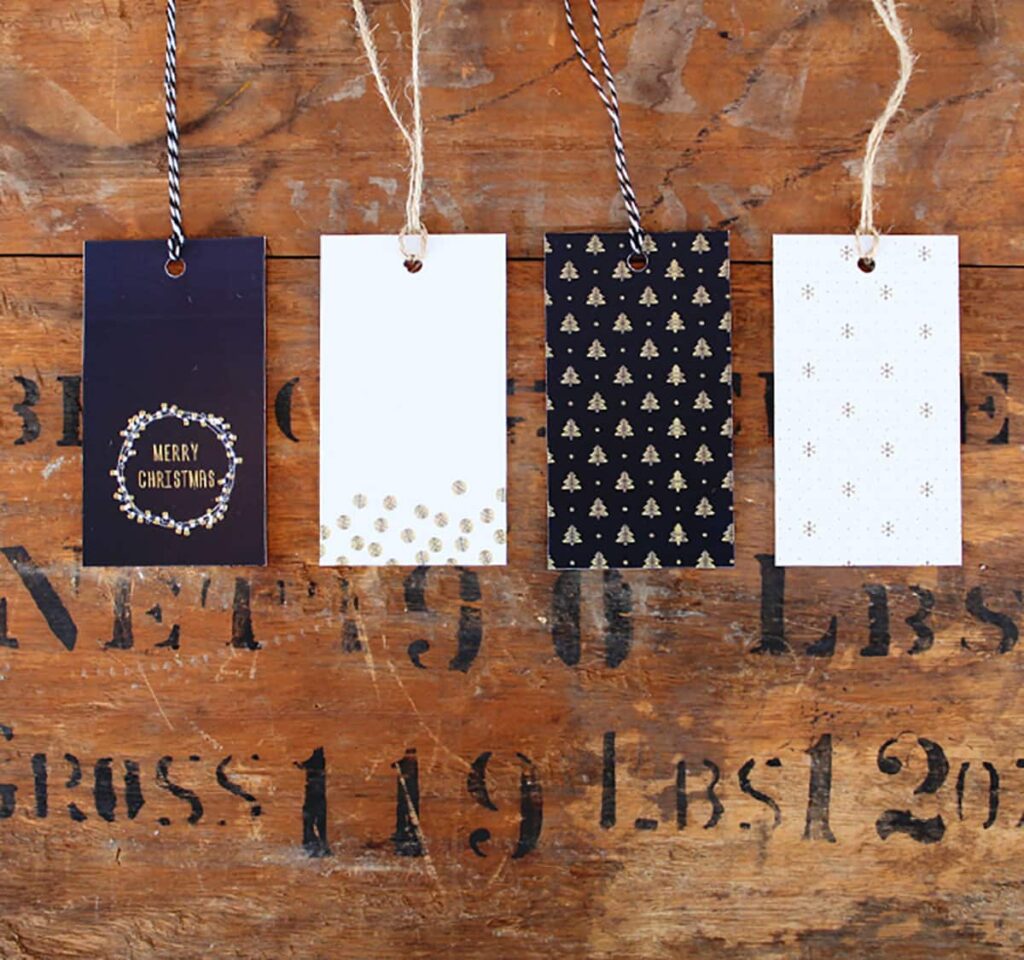
So, I originally designed these puppies in a really fun, crazy color palette. But was that practical to most readers? Would that match your holiday wrapping paper? Hmmm. Bright red, mustard yellow, turquoise, and plum. Hmmm. After thinking about it more I decided black and white and gold would complement everyone’s color scheme.
Since it’s the holiday season, and holidays are meant for giving, AND I just LOVE to give gifts, my little gift to you are these fun custom-designed holiday gift tags. Just download the free printables here (right-click on the link if the download doesn’t automatically start). Besides the actual printing cost, they are completely free. Now where else ya gonna get that kinda deal, huh? I’ll take that bargain all day son!
Get The DIY Holiday Gift Tags (Free Printable Download)
Again, I’ve tried to make it super simple for you to print these bad boys.
- Download the PDF. Right-click on the link and “Save As” if your download doesn’t automatically start. BTDubs, the file itself is 19 MB, so it may take a bit longer to download.
- Copy the PDF to a jump drive or CD.
- Take them to your favorite or nearby copy and print shop or store. FedEx Kinkos, Office Depot, Staples, etc… They also may have the option for you to upload the file. Check their website.
- Ask them to print your file on an 8-1/2″ X 11″ sheet of paper (heavier card stock) and fit to the page.
- Pay for said prints and drive home a happy little clam.
- Grab a ruler and X-ACTO knife and trim.
- Use a 1/4″ hole punch. You will see I added a small go-by for placement.
- Tie with baker’s twine or jute twine and attach to gift.
HELPFUL TIP: You may want to use hole punch reinforcements to ensure your tags don’t rip. I used clear.

Now, I have inserted crop marks for trimming, but feel free to bend the rules. Think outside of that box. Use a small cookie cutter to make different shapes and sizes. Circles, stars, and hexagons, clip the corners from either side to make a more traditional tag. Be creative with these little guys! If you can dream it, do it!
And see this bow? I’ve had a few readers email me since I posted the gift ideas for guys gift guide asking where they can buy the gold glitter pom pom bow. Well, I made it, of course, and you can too. It’s honestly SO incredibly easy and looks like a million bucks. I swear my mom saves and reuses them every year. Can you blame her? They are pretty flippin’ fancy! Anyhoo, in my next post, I’ll have step-by-step instructions on wrapping like a pro too. Fa-la-la-la-la! Until next time!
More Clever and Cheap Holiday DIY Ideas
Who says candle labels need to be boring? Download these free printable stickers and jazz up your favorite scent.
Have you seen that mugs dipped in nail polish DIY and wondered how to make them? Here’s the OG tutorial!
We all love a Free Printable! Download this Bring On The Weekend inspiration.
If you’ve wondered How To Build A Pipe Shelf, here are the exact instructions on how to build your own.
This DIY Modern Dreamcatcher will elevate the look of any bedroom wall.
I turn a few cheap ugly sweaters from the thrift store into beautiful DIY holiday ornaments in the Holiday Thrift Store Challenge
Gilly
I love these Kyla you did a beautiful job designing these….and just a heads up I would totally love the original colour scheme….I love mustard yellow!
Anna
Can’t wait to use these! Trés cool!
kyla
AnnaYeah! Thanks Anna!
Natashalh
Man, those are some cool looking scissors and a great background! The bow and tags are great, too, of course. =) Visiting from the DIY Dreamer.
kyla
NatashalhHi Natasha! I love Chrstine from The DIY Dreamer. She has such great crafting ideas and a great linky party too. I love the scissors too. Would you believe they are from Target? Yep! They are Nate Berkus for Target and can be found in the office supplies section. Sooooo cool! Thanks for stopping by!
13 Holiday Gift Tag Printables - Homey Oh My!
[…] Holiday Gift Tags from House of Hipsters […]
Ashley@Biggerthanthethreeofus
Love these. Pinning for sure!
friday faves: december 19 | The Party Girl
[…] 3. These pretty free printable gift tags from House of Hipsters […]
Shirley
These are gorgeous! Downloading for sure! Thank you! Happy Holidays! xx
kyla
ShirleyThank you Shirley! So happy you are using them! Enjoy and Thank you for stopping by!