Last Updated on December 5, 2024
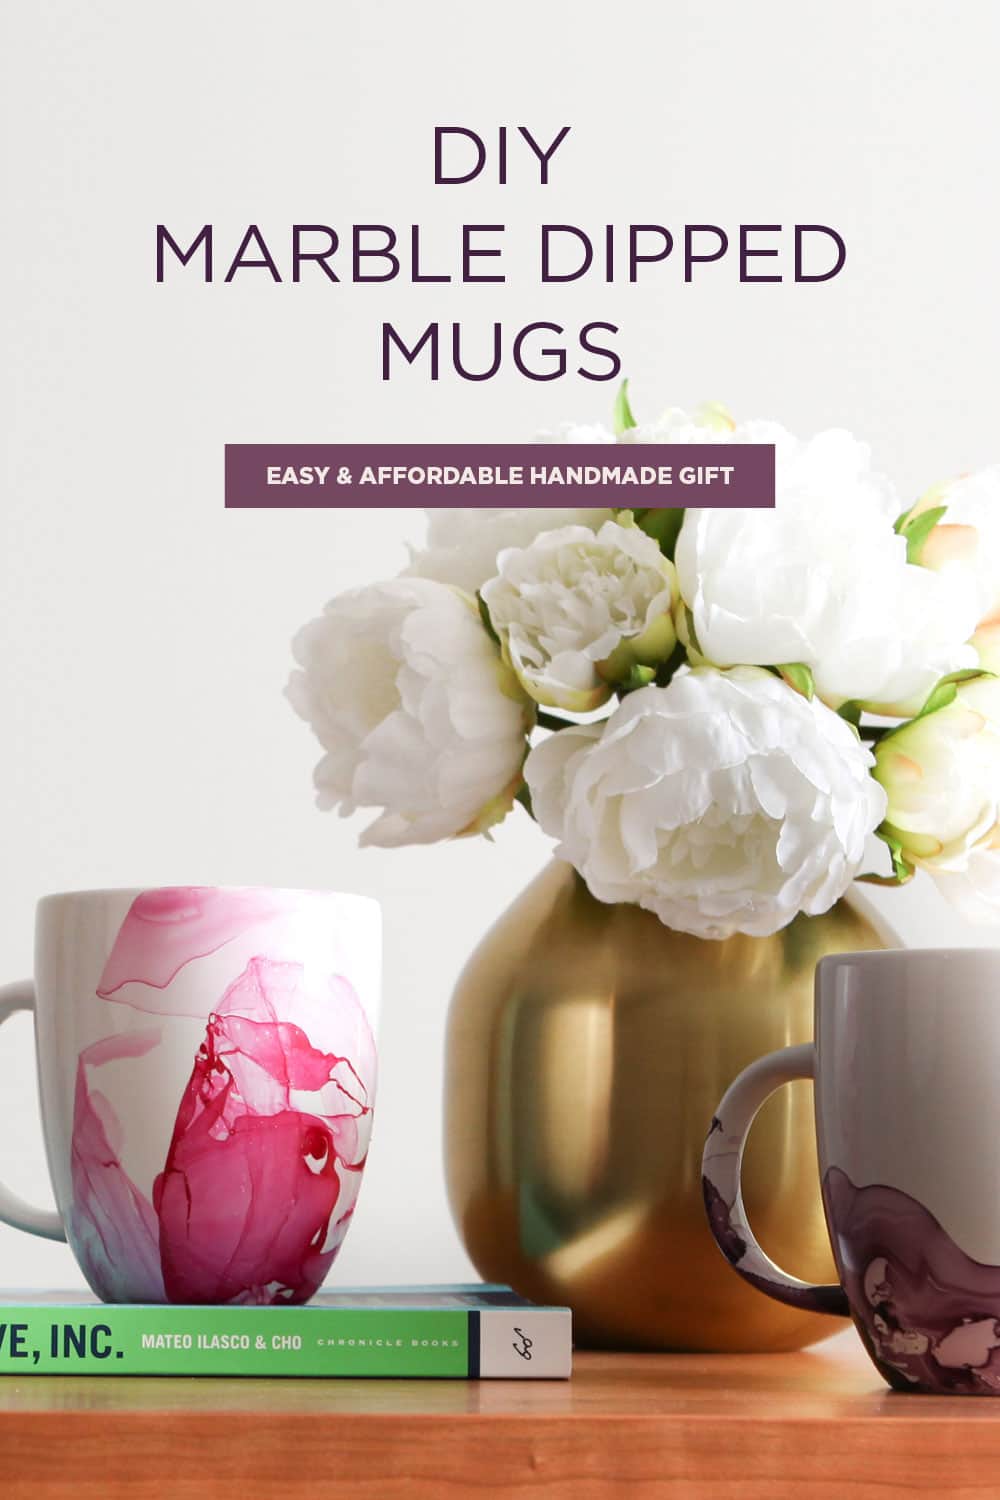
Have you heard about the simple DIY where you dip a coffee mug in nail polish? Pinterest inspired me to create these beautiful marbled mugs, and it’s the easiest craft project ever. Below, you’ll find instructions on how to DIY coffee mugs with a simple marbling technique using water and nail polish, but keep in mind that you can marble anything from plated to bowls to vases and more! Skies the limit!
Table of Contents
Learn How To Make These Colorful Marble Dipped Mugs
This DIY marble mug tutorial has been featured on Pioneer Women and shared multiple times. Since this affordable, simple craft is an oldie but a goodie, I’ve watched readers transform these beautiful watercolored mugs into the perfect handmade gift — think Teacher Appreciation Day, Valentine’s Day, and easy holiday gift ideas. Just dip your plain white mug in colorful nail polish and fill it with your favorite treat or gift card! Let’s get into it.
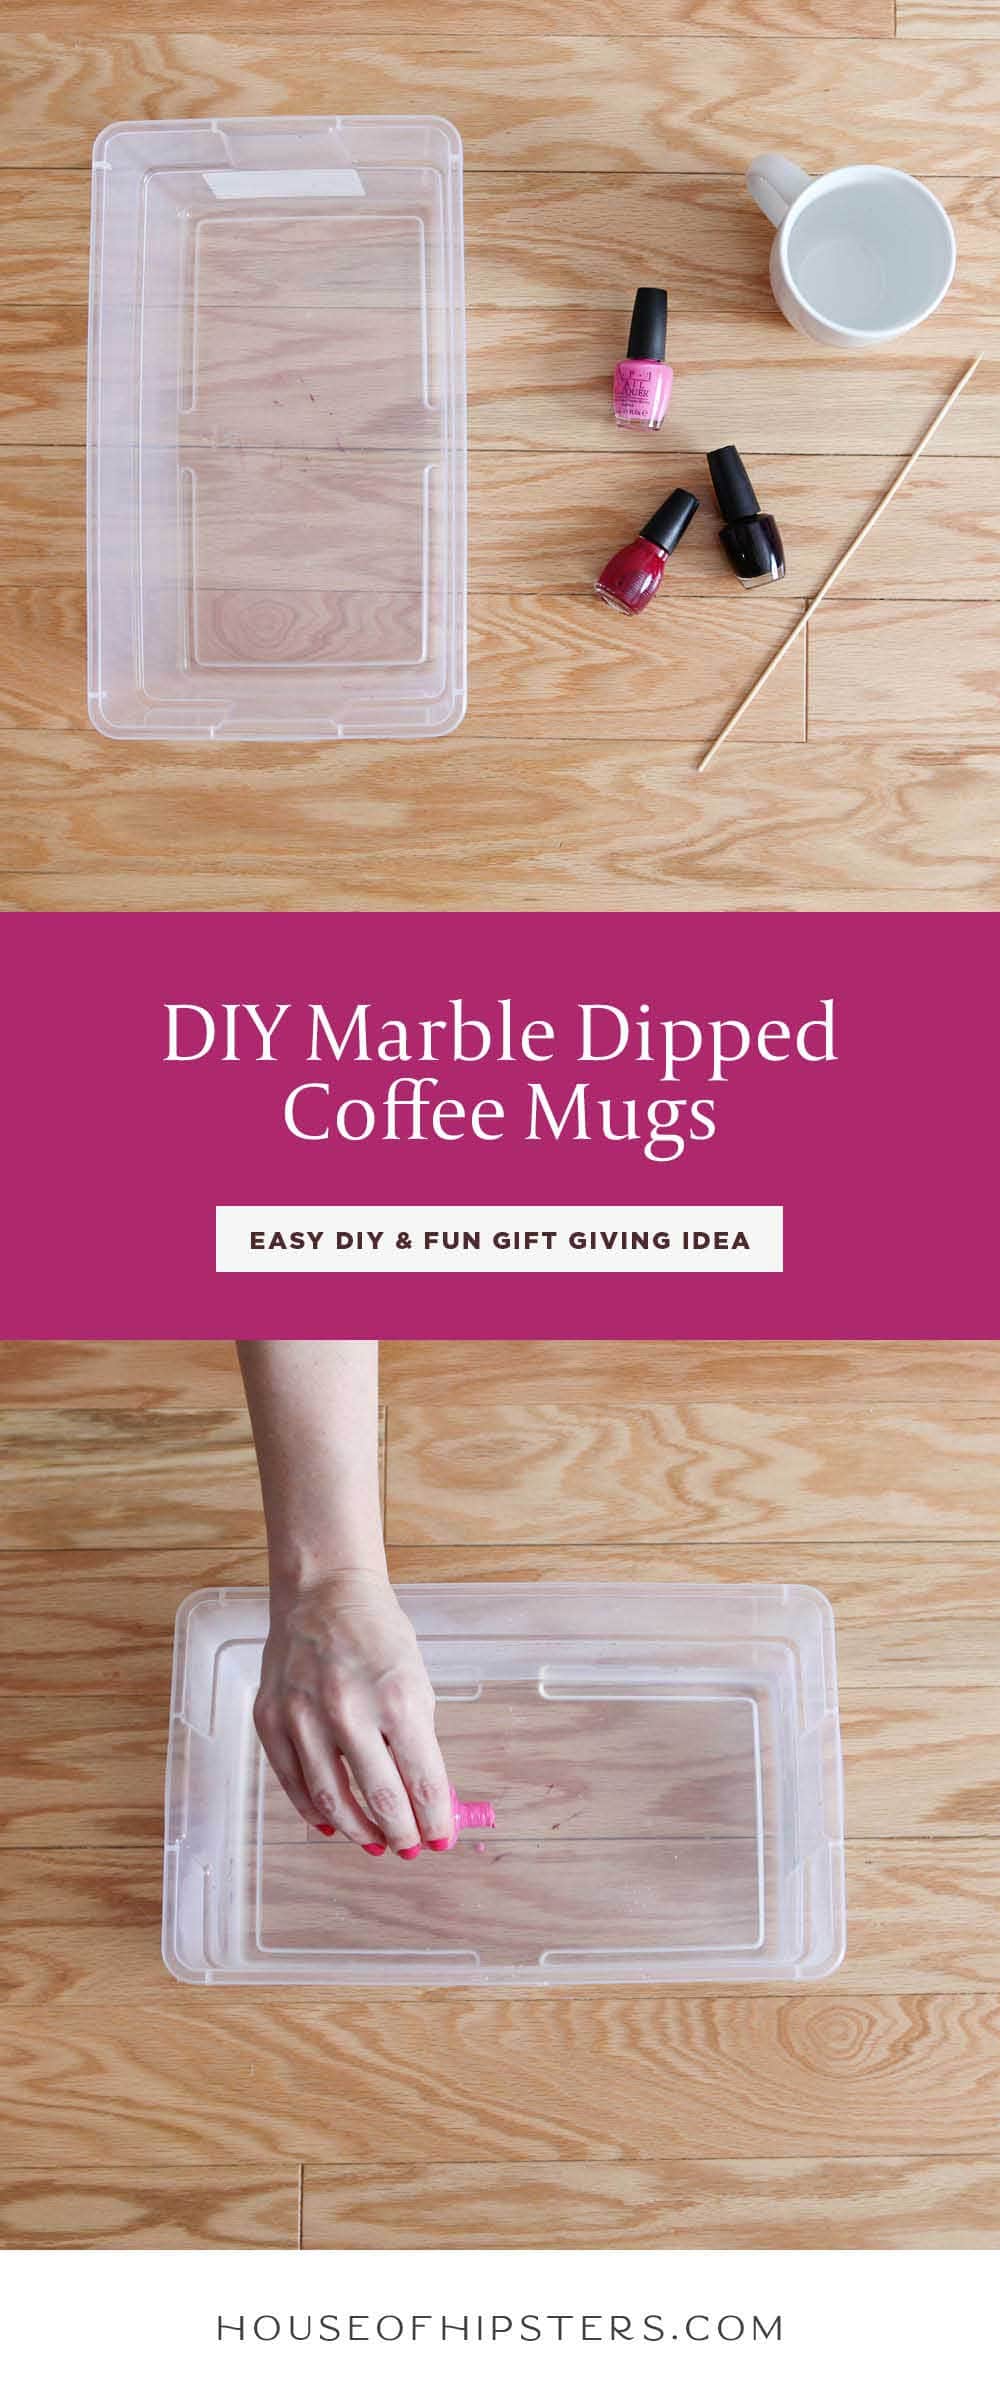
Supplies Needed To Create Colorful Marbled Mugs
Plain white mugs
1-2 nail polish bottles (use old nail polish if you have it on hand)
Disposable container (you don’t mind ruining)
Bamboo skewer (toothpicks work as well)
Paper towel (or parchment paper)
Instructions On How To DIY Marble Mugs
1. For Best Results, Start With Warm Water
Fill a container with warm water…the warmer the better, but not boiling hot water. No one needs to burn their fingers. Be sure the disposable container is one you don’t mind ruining since the water marbling process can leave some nail polish residue behind. Also, when you fill the container, don’t fill it up to the top. You only need enough water to hit the surface area of the whole mug.
2. Select The Nail Polish Colors
Grab some pretty nail polish colors from your bathroom, or buy some cheap nail polish. You only need a few drops of each color to make a small swirl on your ceramic mug. A little bit goes a long way.
Do not grab a quick dry polish. Time is of the essence here, and we don’t need to shorten our time even more. Also, don’t grab a color like Essie “Ballet Slippers.” You want a color with a punch. Any polish that is bright or dark in color works well.
3. Pouring The Nail Polish
Grab your nail polish bottle and pour a few drops into the bowl of water. Swirl the polish at the top of the water surface with a skewer for a better marbled effect. A film will quickly form (yup, that nail polish is already starting to dry). If you’re using two colors of polish, add both to the water now.
You only dip your mug once. There is no second dip. Grab your first mug because we’re ready to go!

4. Dipping Your Mug
Dip the mug and twirl your wrist to pick up the paint. Place your mug upside down on a paper towel or parchment paper to dry. DO NOT TOUCH until the nail polish is completely dry.
5. Let Your Nail Polish Mugs Dry
That is all you’ve got to do! How cool, huh? I think they look like someone painted them with watercolors. Don’t you think?
If you’re marbling a second mug, skim the remaining nail polish from the water’s surface. Fresh polish drops are the best way to ensure the perfect marbling effect.
FAQs and Simple Tips On How To Create These Marbled Mugs
- Pour the polish close to the surface of the water. If dropped too high, it will sink to the bottom and not dissipate for the marble effect.
- Use a throwaway paper cup first to get the hang of it. Practice makes perfect.
- Use 2 colors of nail polish for a beautiful marbling effect.
- Don’t use the nail polish brush to add the drops. Pour the nail polish straight from the bottle.
- Your marbled mug is no longer dishwasher safe, nor is it microwave safe. And if possible, don’t put the polish on an area where you would have food or place your lips. It’s just not healthy.
- However, few readers have covered their coffee mugs in dishwasher safe Mod Podge. I’ll let you decide. Mine are only for hand washing and display—no hot chocolate in a pretty mug for me. Oh, and if you decide to wash your nail polish marbled mugs, put them on the top rack of your dishwasher.
- Only dip your mug only once if you feel like it needs more. If all else fails, let the first coat of polish dry completely and dip the mug again until you get the desired marble effect.
- This process moves very quickly, so don’t dilly-dally when dipping your coffee mugs!
- Imma say it again. Do not touch that nail polish mug until the paint is dry.
- When emptying the used water, scoop out all the extra polish with a paper towel first, or you will have a very colorful marble dipped sink.
- If the bottom of the mug is covered in polish, clean it with nail polish remover.
Shazam! That’s it! That’s the easiest way to create nail polish dipped mugs! They make for a great inexpensive gift for Christmas, fill them with chocolates or use them to hold a gift card for Teacher Appreciation Day!
Discover More Easy DIYs And Weekend Home Projects
Learn how to install a ceiling medallion to elevate your lighting decor.
Beginner Cricut projects! Get the free download to create this easy graphic kitchen towel.
Every holiday, this easy way to make a bow with ribbon tutorial goes bonkers.
I tried my hand at creating this easy dreamcatcher DIY. I love how it turned out.
Got a candle with an ugly label, but it smells amazing? Elevate your candles with this easy DIY candle packaging printable.
Industrial is in. See how to build a pipe shelf for your home office.