Last Updated on December 5, 2024
When we embarked on the adventure of refinishing the basement, I was pregnant with little Maus. Since my home office was soon to become her nursery, I knew I had to move downstairs…which meant downsizing a bit. Being a graphic designer and a hoarder collector of vintage loveliness, I needed a lot of storage space, but I also wanted a pretty sumthin’ sumthin’ to display such loveliness. Shelving was on my mind.
Table of Contents
Getting The Industrial Look With A Pipe Shelf
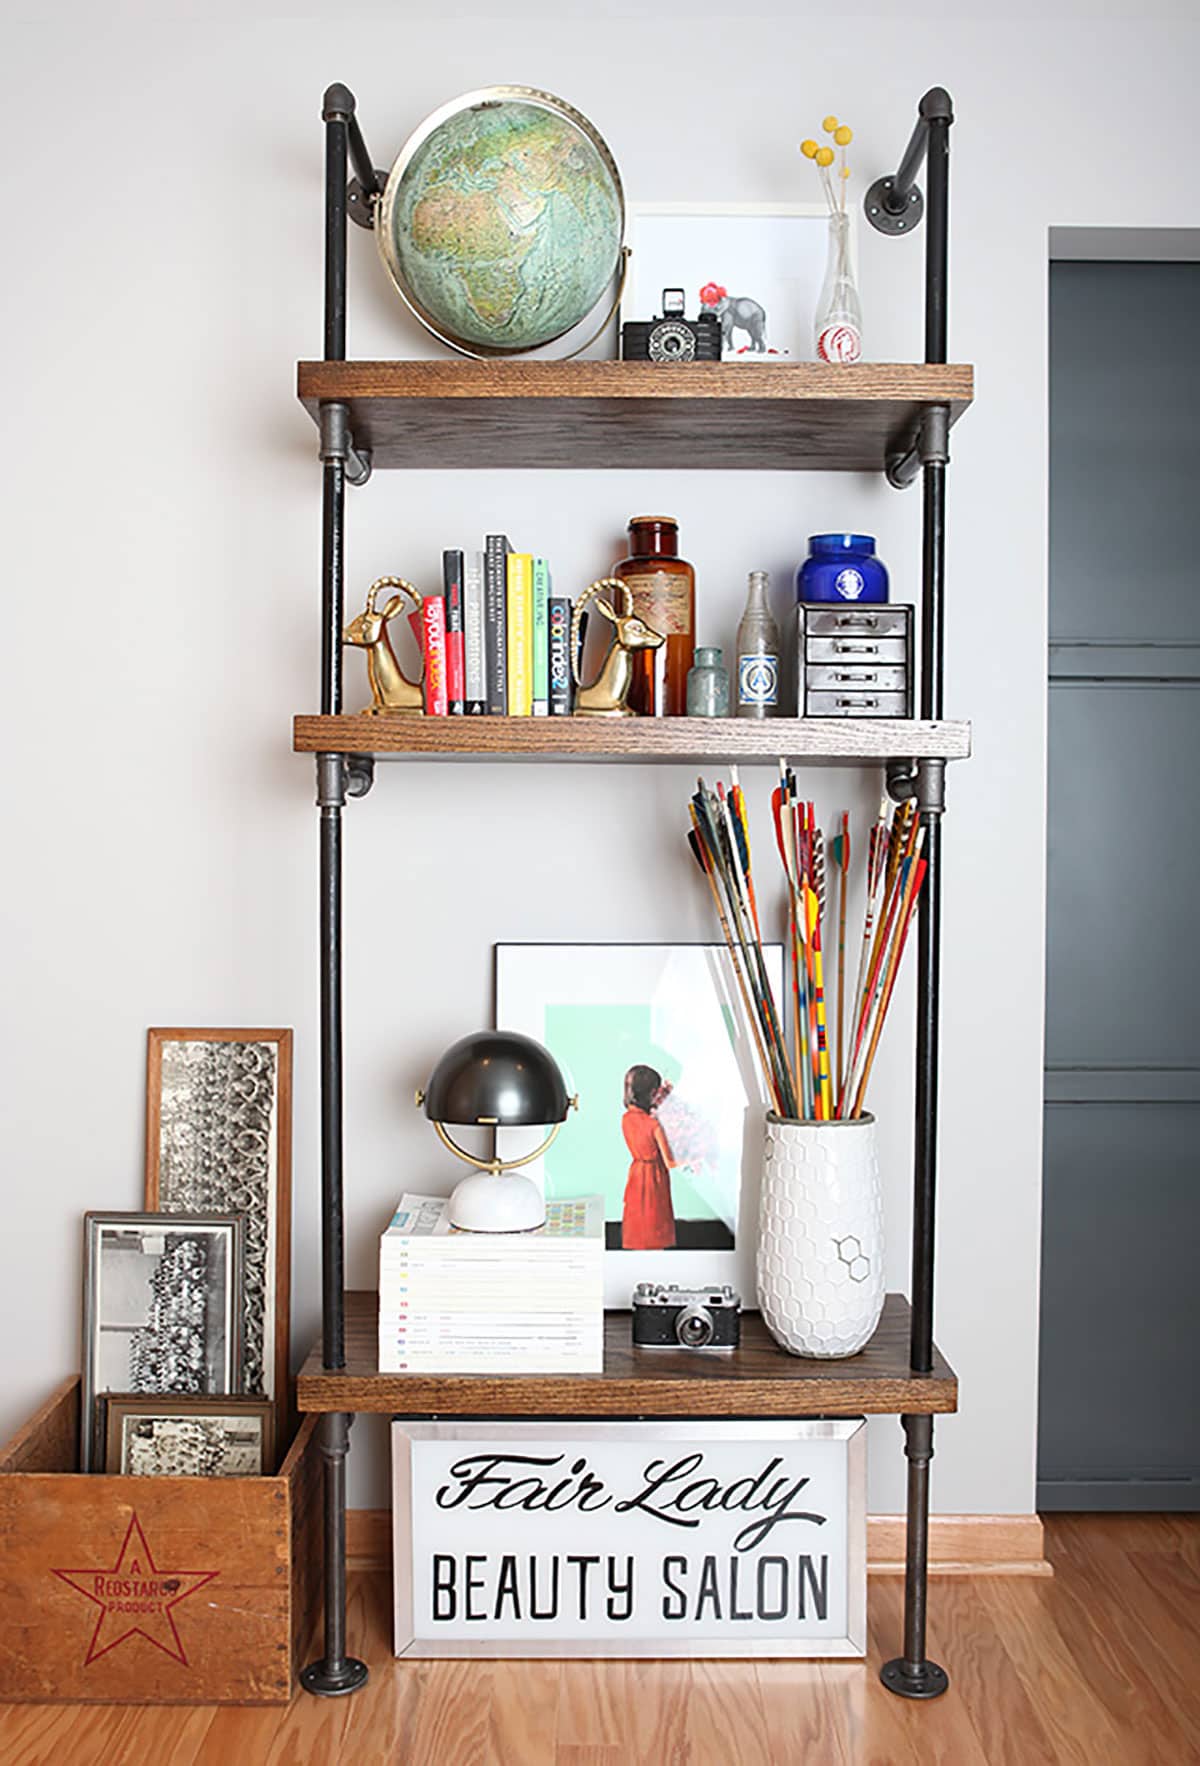
I first saw this pipe shelf in the Bash Please headquarters featured in Rue Magazine. I was like, “I could totally build that!” however, I must admit, the boy did a lot all of the work…and woo baby, it looks fabby! It was surprisingly easy to make (and under $175!), so I decided to share my directions on how to make a pipe shelf with you today so you can build your own.
Supplies Needed To Build A Pipe Shelf
3/4″ gas piping and fittings
Pipe:
6 – 12″
2 – 27″ (custom cut and threaded at Home Depot)
Fittings:
8 Elbows
6 Three Way Tees
4 Base Flanges
Wood:
3 – 1-3/4″ high X 13-1/2″ deep X 32″ long boards (I called ahead to a lumber yard and asked them what was the thickest board I could get and had it custom cut…all we had to do was pay for it and pick it up)
Sandpaper:
220 Grit
320 Grit (just to make sure it is smooth)
Stain:
Minwax Dark Walnut
Tools:
Tack cloth
Drill
1″ Hole Saw
Degreaser
8 Drywall Anchors (4 per side)
8 Screws
Measuring Tape
Instructions On How To Build A Pipe Shelf
Use a drill with a 1″ round drill bit to drill the holes in the wood planks. The boy built himself a corner template to ensure everything was aligned…he’s sooooooo smart. (Hint…be sure to compliment whoever is helping you…it solidifies help in your next big project.) Clean all the grease off the pipes with degreaser. If you don’t like the rawness of the pipes, you can spray paint them. I chose not to.
Sand the wood with 220 grit and then 320 grit until it’s smooth as a baby’s butt. Take the tack cloth over the wood to remove dust. Now you are ready to stain.
Unless you are Scotty Pippen, you’ll probably need a ladder at this point or at least a chair. Assemble all the pieces, and you are ready to hang. As a side note, I did not screw this puppy into the floor, and I’ve never had a slipping issue.
The most difficult part of this project was figuring out the math. You need to know how tall you want it but don’t forget to add in the height of the top piping. Once you know the height, determine how many shelves you want and the spacing. Good luck, and let me know how your pipe shelf turned out!

Discover More DIY Home Decor Ideas and Interior Design Inspiration
If you’re looking at wallpapering a room, I’m sharing my best wallpaper 101 tips. Nail it like a pro the first time.
See how I created this antique dresser vanity for the powder room we call Potty Paradise.
These DIY marbled mugs blew up the interwebs, and they are so easy to make and perfect for gift-giving. You only need some old nail polish, a white mug, and water in a plastic bucket.
Want to jazz up your ceiling? Learn how to install a ceiling medallion. It’s one of the easiest DIYs ever!
I DIY’d my guest room closet into a reading nook closet with a budget of almost nothing. See how I made it.