Last Updated on December 5, 2024
I’ve always loved the idea of a dreamcatcher, but the style itself doesn’t exactly fit my decor. It’s a bit too hippie boho for me. My house is more mid-century modern (trapped inside a cookie-cutter house in the land of suburbia…but that is another story). I knew I needed to create my own DIY modern dreamcatcher, but I wanted it to be more minimal. I started to search Etsy.
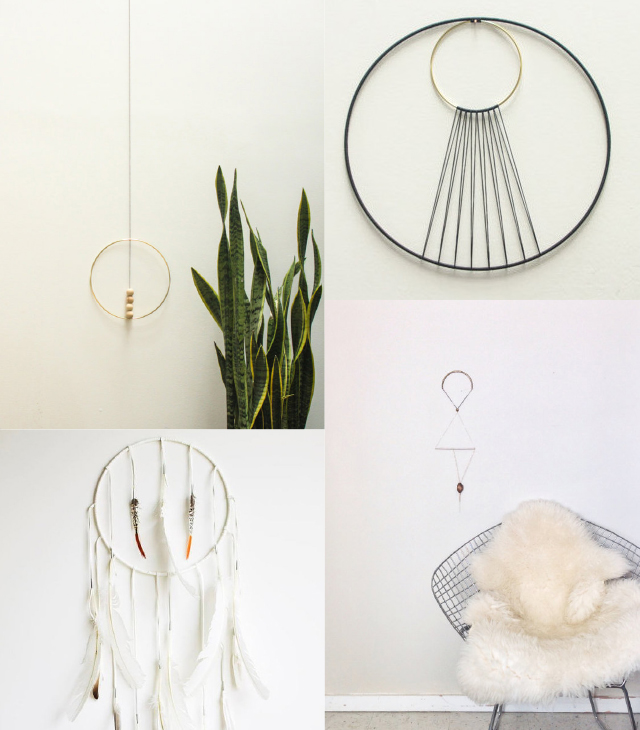
So my Google and Etsy searches landed me on these images for inspiration. Found here 1 /// 2 /// 3 /// 4
Cool huh? But I’m on a budget. This dreamcatcher needs to be more on the affordable side. And here is where the DIY inspiration always kicks in. I began my search for brass hoops. Oddly, that turned out to be the hardest part, but I found them here.
I got home and hemmed and hawed about spray painting the hoops. Maybe it was because it was windy, maybe it was because I just had a manicure and I’m snobby like that…ya, it was the manicure…I’m just being honest here. So I did another search and found brass hoops on Amazon. As long as I was ordering supplies and paying for shipping, I threw in a few wooden beads and black string. Yep, that’s really all you need for this project…well, a couple more items, but you might already have them on hand.
How To Make A DIY Modern Dream Catcher
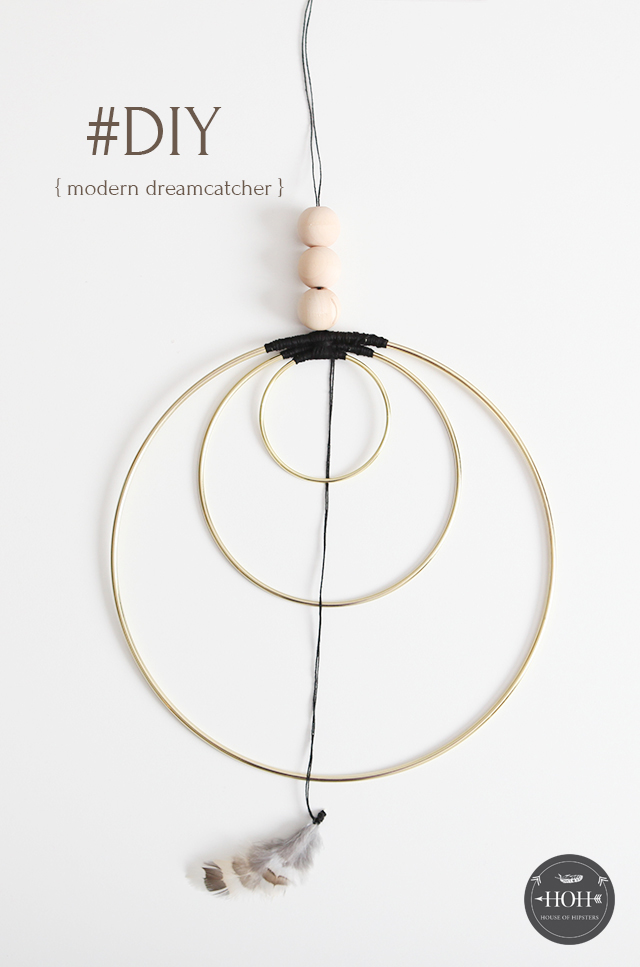
WHAT YOU’RE GOING TO NEED (for the image above)
1 – 12″ Brass Hoop
1 – 6″ Brass Hoop
1 – 3″ Brass Hoop
Black Crochet Thread
3 – 3/4″ Diameter Wooden Beads
1 – 1/4″ Diameter Wooden Bead
Tacky Glue Dots or a glue gun will work
2 Small Feathers
- Take each hoop and place the adhesive dots across the top. It doesn’t have to be perfect. Just have the smaller hoop have a shorter length than the next biggest hoop. See above.
- Cut a piece of string longer than you think you’ll need.
- Wrap the string around the entire length of tacky dots. Wrap as tight/close as possible. I laid the string across the dots and wrap over the top of it. I never knotted it.
- Once you’ve made one pass across, go back over if necessary to fill in any gaps. making your way back to the middle and knot off the string. Do not cut.
- Do the same thing to the other 2 brass hoops.
- Place the three hoops together take the string from the 2 smaller hoops and wrap around all three securing them vertically. Tie the string off, but don’t cut.
- Now do the same thing with the string from the largest hoop. Secure, knot, and cut.
- Cut a new piece of string (longer than you think you’ll need) and secure horizontally between the two largest hoops. Wrapping around the vertical string you just tied. Tie off the string, but don’t cut.
- At this point, you should have 4 pieces of string.
- Take 2 pieces of string and secure a couple of feathers.
- Take the 2 remaining pieces of string and add three 3/4″ diameter wooden beads.
- Now grab your 1/4″ wooden bead and secure it in a knot like this.
That’s it! Now go hang that puppy on a wall and pretty up your room! Easy peasy, am I right? And can you believe for under $20? A cheap and easy DIY anyone can make!
I then got really ambitious and made another variation. Grabbing a 12″ hoop and a 6″ hoop, I wrapped the tops the same as the above. But I also wrapped the middle area of the 12″ hoop creating a large band across the center.
I secured the hoops the same as above and added beads and secured the end with a small bead (pictured above). I think it turned out pretty cool!

More On House Of Hipsters Interior Design Blog
If you’re asking yourself, how high should a tv be mounted, well, this is the exact post you need to read. I’ve got the exact height for every size falt screen!
Find the best faux olive tree for your living room and fill the empty corner like an interior design pro!
What size rug for living room should you buy to nail the look like an expert? Get the tips and never return a rug ever again!
Find unique favorite things party gift ideas all under $25 and have your favorite thing be the most coveted present of the group!


