Last Updated on December 2, 2024
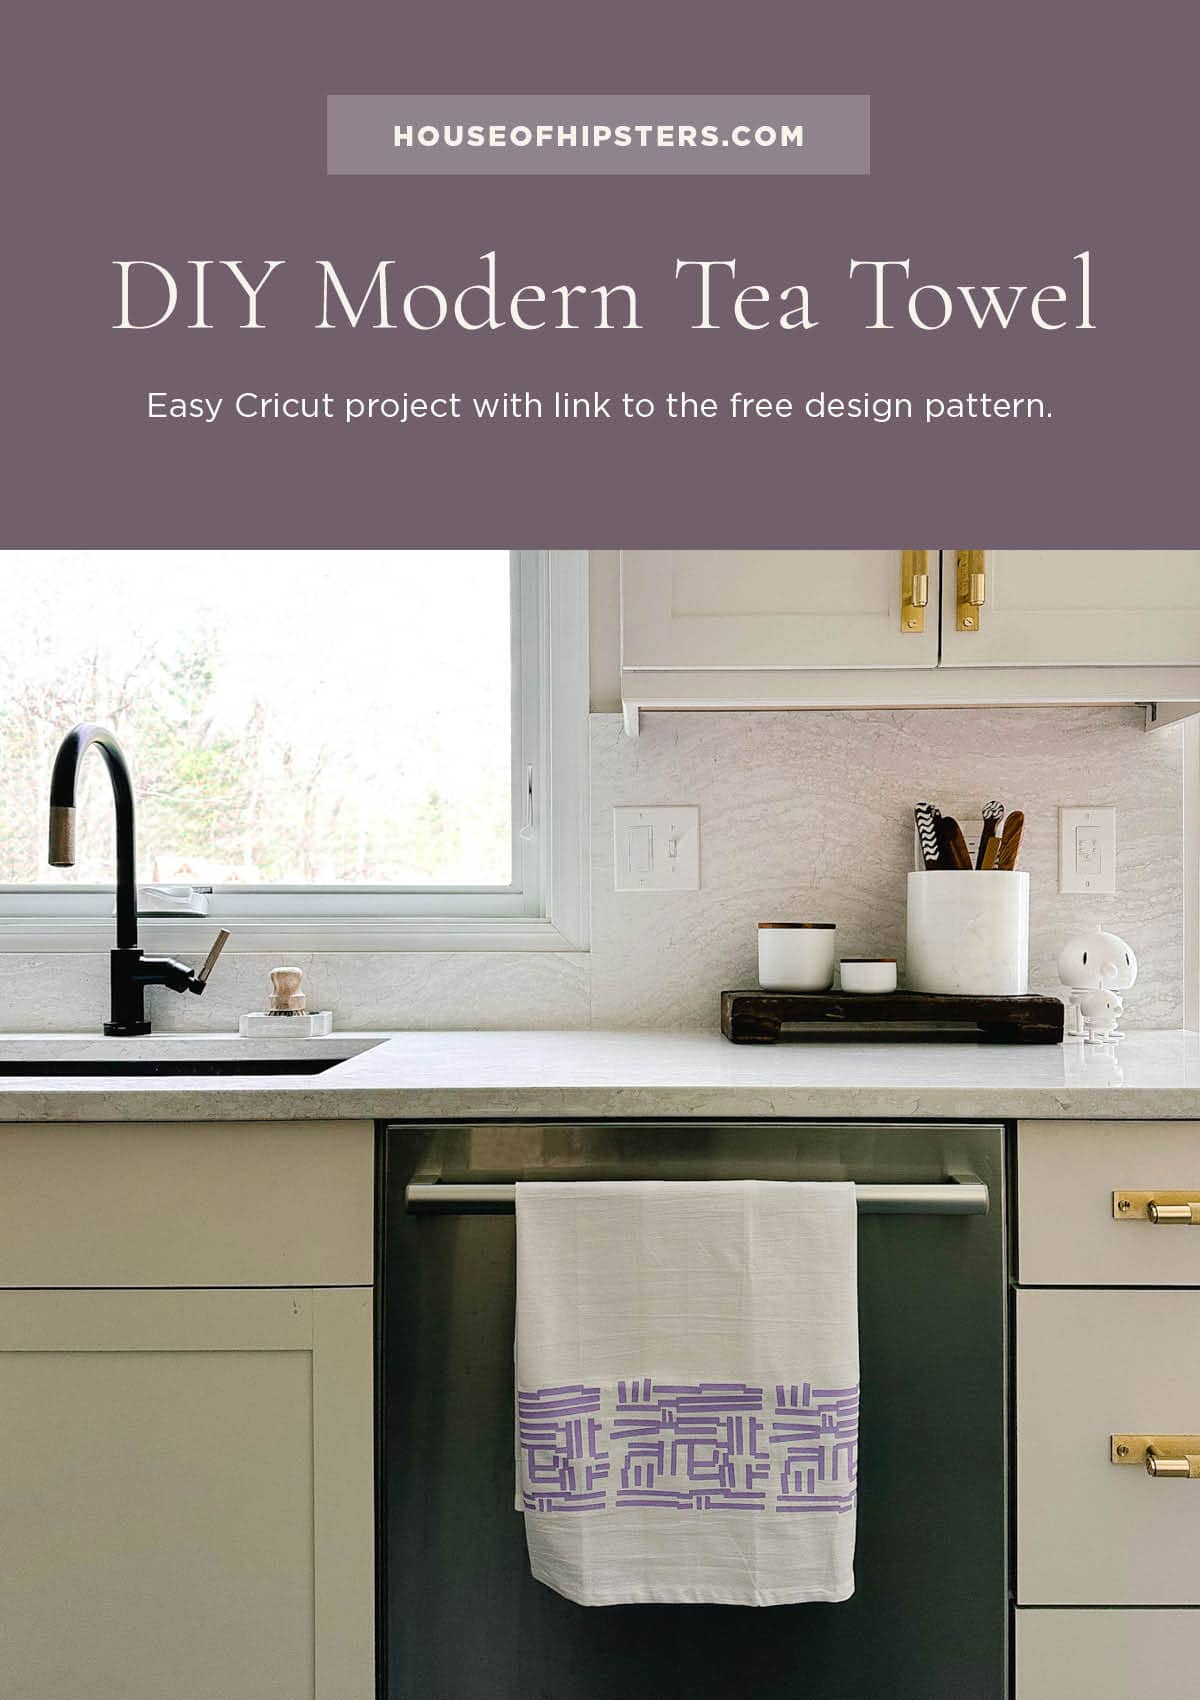
This ain’t your momma’s Cricut project. No ma’am. The other week I was staring at the plain kitchen towel hanging on the dishwasher, and it’s a design crime. The Boy bought it a couple of years ago, and it does nothing for me—not to mention it’s slightly stained. While painting the other night, my Cricut machine caught my eye; insert a brilliant idea. Why not design a pattern for a modern tea towel? I was a graphic designer for 19 years, so even though I’m a Cricut beginner, this could be fun!
RELATED: Be sure to check out my other modern DIY tutorials.

Table of Contents
Supplies Needed For This Easy Modern Cricut Project
First thing first, if you are here to grab the link for the modern tea towel design pattern, click that link. It’s free to use, but you need the Cricut Design Space to access it.
For this Cricut project, I used the following:
- Cricut Explore
- Standard Grip Mat
- Cricut EasyPress
- Cricut EasyPress Mat
- Everyday Iron-On (I used the color lilac because purple decor is trending, but neon yellow is super fun too)
- Weeding Tool
- Tea Towel – sold as a two-pack
- Parchment paper (The Boy used the last of ours on his sourdough, so I used butcher paper)
- Link to the Cricut Design Space project
How To Create Your Modern Kitchen Towel Using The Cricut Machine

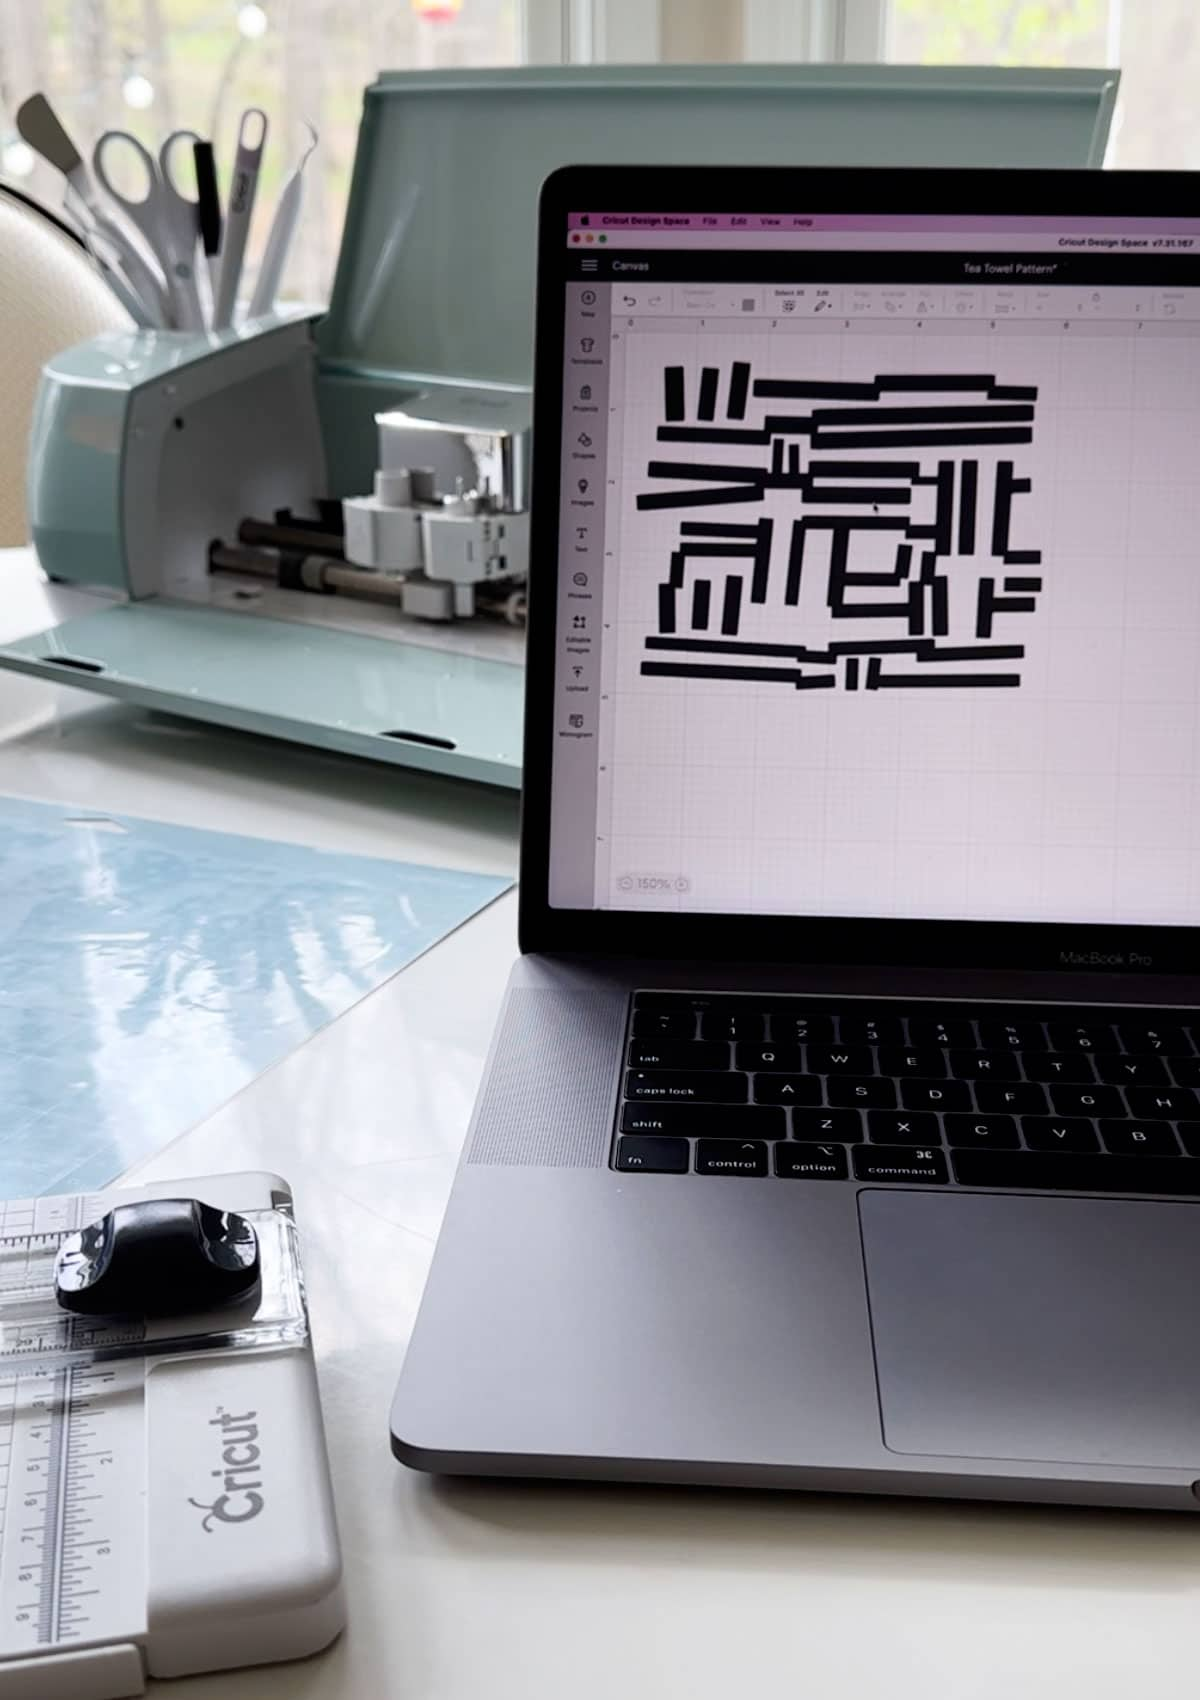
- Open this design in the Cricut Design Space.
- If you want to move or adjust the shapes individually, you must un-unite and ungroup. Be sure to re-group and unite before cutting.
- Adjust the desired size and duplicate the design if you want more than one pattern printed. The design should show two pattern sections. I left space in between because I like to trim each pattern before weeding. Just click and drag where you want the design to cut. Again, double-check that the pattern is grouped and unified.
- Connect your computer to the Cricut Explore machine. I easily connected my Mac with this handy dandy Thunderbolt to USB adapter.
- Once the patterns are correctly sized, click the green “Make It” button.
- The pattern(s) should fit a 12″ x 12″ mat. Click “Mirror” on the far left side.
- If the preview looks good, click “Continue.”
- Be sure the knob on your Cricut machine is turned to Iron-On.

9. Trim your Everyday Iron-On material from the roll and place it shiny side down on the Standard Grip Mat.

10. Load the mat and click the Cricut “C” on your Cricut machine to begin cutting.
11. Once cut, remove the vinyl by flipping the mat upside down. I’ve found it’s much easier to remove the mat from the vinyl versus the vinyl from the mat.
12. Trim the vinyl and use the weeding tool to remove the excess from your pattern. Try peeling the vinyl away from the transfer sheet at the corner and slowly pull at a 45° to remove it. You’ll begin to see the design emerge.

13. Heat your Cricut EasyPress. I’m using a 100% cotton tea towel, and the EasyPress heat settings suggest 315° for 30 seconds with firm pressure using the Cricut Pressing Mat.
14. You’ll want to iron your towel with the EasyPress before adhering the design. This removes any moisture and wrinkles.
15. Place your design face down with the transfer sheet facing up (this is why we mirrored our design—vital for designs with words).

16. Place the parchment paper over the design. This acts as a barrier between the transfer sheet and the EasyPress.
17. Once your EasyPress is set to the desired heat, click the “C” to begin the countdown.
18. You’ll hear a beep when it’s finished. Remove the EasyPress and paper. Let the transfer sheet cool before carefully peeling it off the tea towel.
I cut three chunks of the pattern, trimmed them down, and repeated this pressing process on each chunk to get the desired width on my tea towel. To ensure it was centered, I started pressing the middle section. Voila! This modern Cricut project complete!
Cricut Project FAQs
Can you create this modern tea towel using Cricut Infusible Ink?
I successfully tried this modern tea towel Cricut project with Infusible Ink, and yes, it worked, but you need to adjust the knob setting to “Custom” on your Cricut machine before cutting, and the heat setting needs to be increased. However, I have not tried washing the tea towel yet. I will report back.

Add parchment paper to the underside of the tea towel to prevent the ink from bleeding into the EasyPress Mat. Ask me how I know.
It should be noted that the lilac color of the ink is not as vibrant as the Everyday Iron-On. Do not use the weeding tool on Infusible Ink. It tends to scratch the ink off the transfer sheet. Also, Cricut suggests you only use Cricut branded blanks with Infusible Ink. Cricut does not make tea towel blanks—only mugs and coasters—BTDubs, this pattern would look so dope on a mug or coaster! The mugs need the Cricut Mug Press. However, I did test it on a regular 100% cotton towel, and it worked.
RELATED: I created this last minute DIY gift idea with my Cricut Mug Press. Simply pick a font, cut, and press! These mugs are perfect for holding a gift card and candies for Teacher Appreciation Day.
Could I press this design on a t-shirt?
For sure! I think it would be fun! Go for it!
What happens if I forget to adjust the settings knob on my Cricut Explore?
Don’t worry; I’ve done this myself. If you’ve left the setting on Iron-On, but you’re cutting Infusible Ink, the material won’t cut through all the way. It won’t hurt the cutting blade, but you’ll probably have to recut the design because it will be impossible to weed, which is frustrating, but it’s all part of the DIY process, am I right?
What happens if I forget to mirror my design?
For this project, nothing, except the pattern, will print backward compared to the one pictured in this tutorial. If you have lettering in your design, you must mirror the design before cutting, or your wording will read backward.

Can I reuse the extra material that was not cut?
OMG, heck, yes! I save all my scraps because that stuff can be pricey. If you have extra Infusible Ink, store it in the black plastic sleeve provided to help keep it out of the light.


Discover More Easy DIY Craft Tutorials
Check out these 7 expert ways to hang a picture like a pro.
Create another beginner Cricut project with this custom-designed mug with a Cricut Mug Press. They make for the perfect holiday gift.
My favorite DIY is this artificial flower arrangement in resin water.
Wallpapering 101 — how and why I wallpapered a closet.
The most popular DIY on the blog are these marbled mugs dipped in nail polish. The Pioneer Woman features them yearly in a DIY Christmas gift roundup, and the crowd goes wild. Who knew?!?
