Last Updated on December 13, 2024
When I got the email from Thoughts From Alice asking if I’d like to participate in the Holiday Thrift Store Challenge, I didn’t have to think twice. Yes! And yes again…wait, I guess that is twice. Anyhoo, I was super jazzed to participate. I am the (self-proclaimed) thrifting queen in my own little world. Well, kinda. I’m the flea market slash antiquing queen in my own little world, but thrift stores are a bit out of my element. I hadn’t been to one in a long time. You really have to know what you’re doing and have good eyes when it comes to thrift store gems. Diamonds in the rough I guess you’d call them.
So what’s this “challenge” shtuff that am I chattering about? Well, Alice asked us to venture out to our local thrift store and procure something anything for under $25 to use as holiday decor in a creative way. We could give these items a complete makeover or use it/them in a creative vignette. She wanted us to see beyond the surface of what someone discarded or no longer needed and think outside the box. She wanted us to show you, our readers, how to save money on holiday decor by using a little creativity. Well, Alice! Challenge accepted!
Hmmm, now what in the world was I going to do! My nearest thrift store was Goodwill, and I had to make 2 trips because the first time they were closed. Note to self, look up store hours before venturing out in the cold. The sliding doors opened, and the first thing I see is a rack of holiday sweaters. I kinda chuckled and thought of the many ugly sweater parties I’ve been to in the past. Fun, but probably not appropriate for a craft. I had a small problem though. This particular Goodwill was fairly new and mostly clothes. I walked back to housewares where I found nothing but glasses that had EFFEN Vodka logos emblazoned on them or a few dented pans. Hmmm. That wasn’t going to work. This challenge was a bit more difficult than I thought I would be.
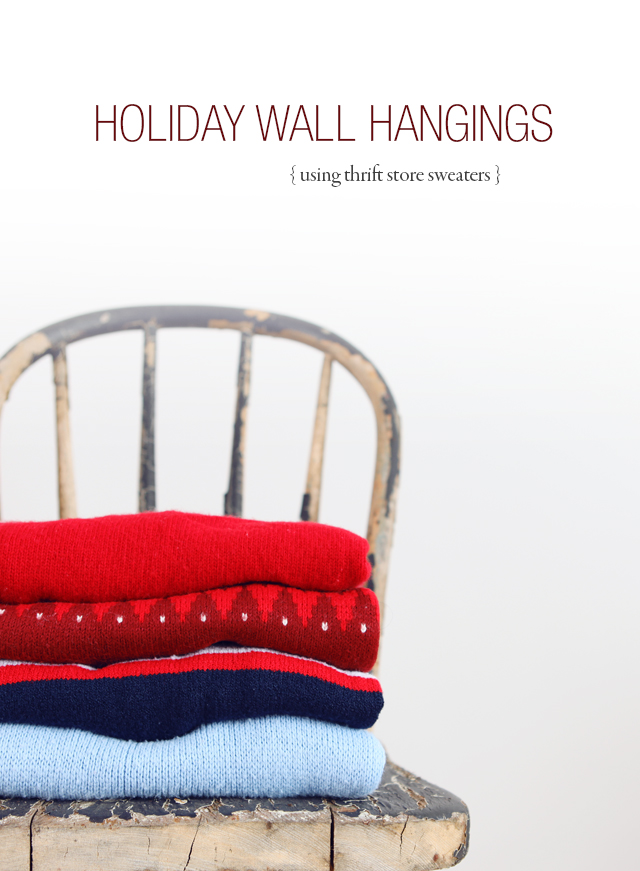
DIY Ugly Sweater Holiday Ornament Wall Hanging
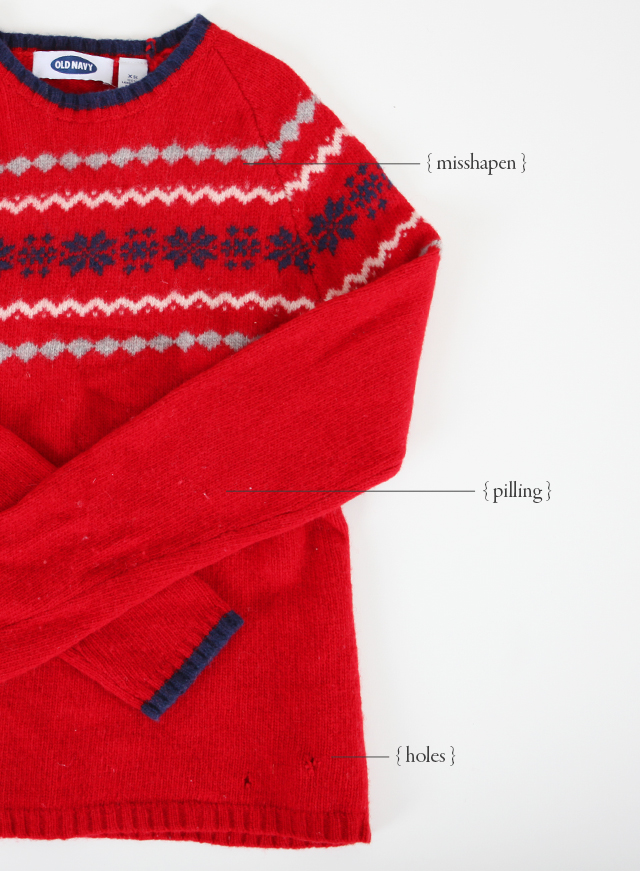
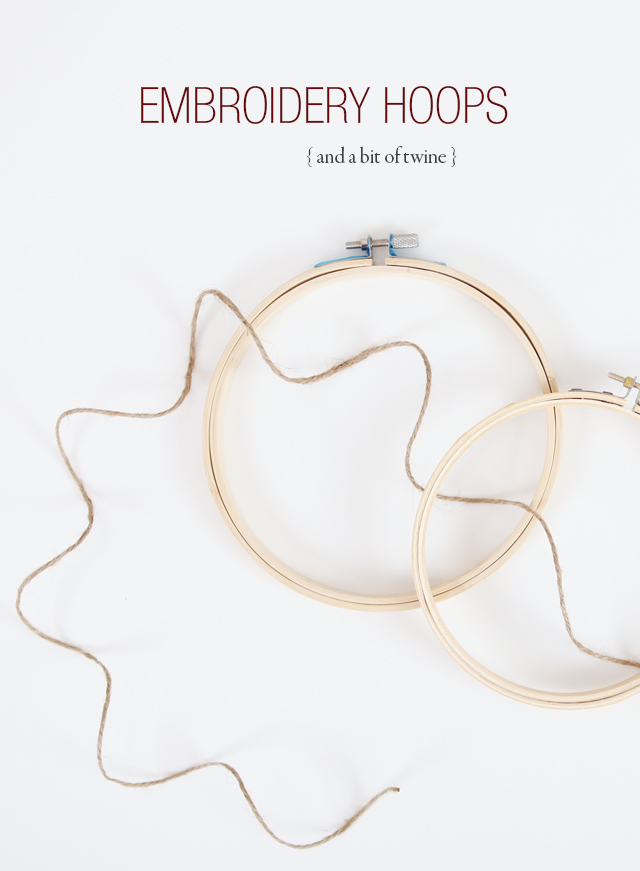
I started to make my way to the exit feeling a bit defeated when I walked past those ugly sweaters again. A lightbulb went off in my head. Remember the DIY Modern Dreamcatchers tutorial I posted a couple of weeks ago? Well, on my search for brass hoops, I found some wooden embroidery hoops at Michaels. I ended up not using them for the dreamcatcher but held on to them for a future unknown project. Unknown that is until now. I started to paw through the sweaters. And although I’d probably never want to wear one (unless it was to win an ugly sweater contest), some had pretty great designs and colors. It didn’t matter if there was pilling or holes. I remembered Alice saying, “look beyond the surface”. She was suddenly my Obi Wan Kenobi of thrifting.
Each sweater was $4.99. I grabbed 4 which meant I had an extra $5 to spare. Golden, thank you Obi Wan. When I got home, I found my wooden embroidery hoops (I used different sizes). I no longer had the original receipt, but if memory served me right, they were about $1.50 each. Used with a 50% off coupon, I’d be within my $25 budget by the hair on my chinny chin chin.
I laid the sweaters flat and started to place the hoops. Based on the color schemes, I decided to use only three sweaters. The navy and red stripe felt a bit too bold, and I also like to group items in threes. It’s the odd number interior designer in me talking.
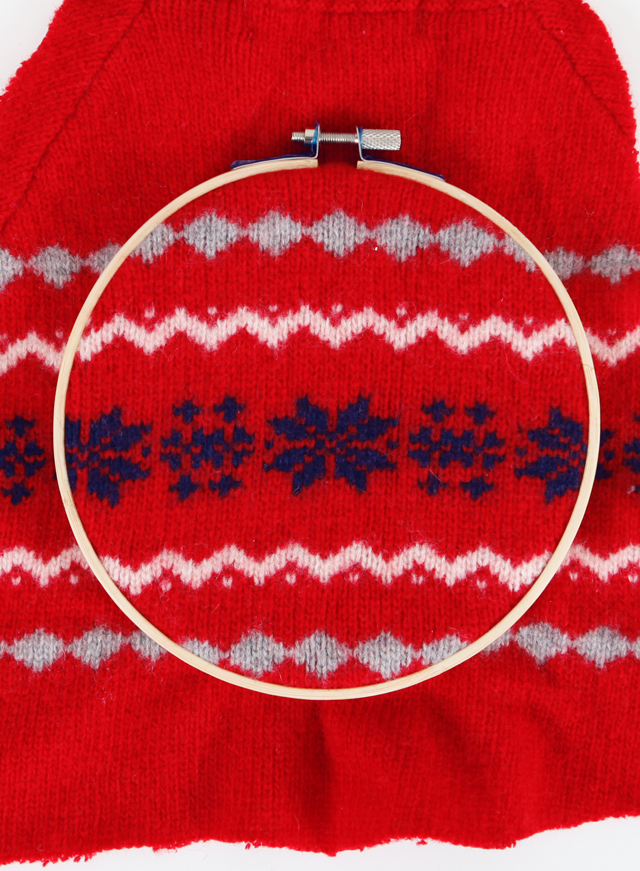
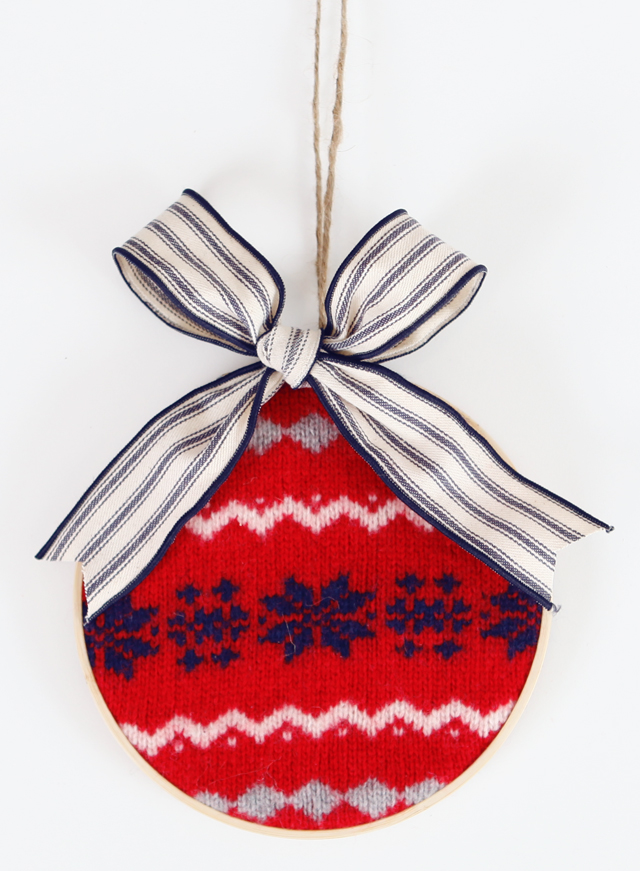
After stretching the hoops (helpful hint: cut a larger area from the sweater, around where the hoop should be placed. It’s easier handling for placing the hoops, and you can see ad use your hands a bit better.), then I trimmed the area as close to the hoops as possible. My original thought was to use ribbon and add a bow to cover the screw that connects the embroidery hoop.
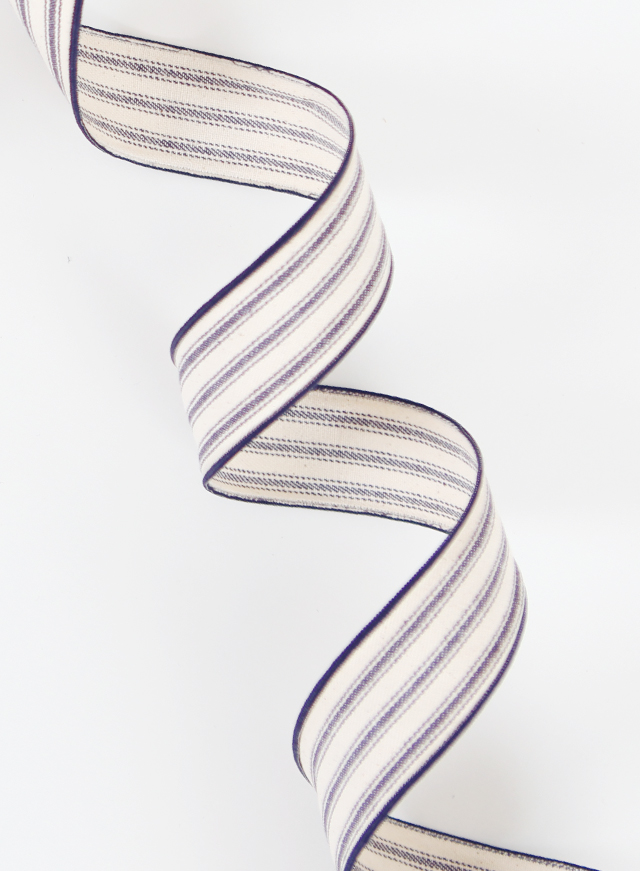
But after doing so, I felt my wall hanging was a bit overtaken by the bow. After removing it, I decided to use some simple twine instead. I’ll let you guys be the judge. I tried this navy and cream ribbon first and then changed it out to gold. I also tried a simple bow and a pom pom bow. I wanted to love it, but I just couldn’t. It wasn’t quite right. Let’s remove that bow and try something different.
After removing the bow, I tied the twine around the two connectors with holes rather than around the screw. It was difficult to stretch the hoop, so I thought this would make the connection a bit more secure. It also hid some of the bare metal and finished the wall hanging a bit more. I tied it in a half knot in the front and a full knot in the back, leaving excess twine for length to hang. I finished the ends with a wooden bead. The twine was more simple than the bow and I think for me and my taste, that is what I needed. For me, I felt it took on a more modern edge with only twine look.
Final Look! Holiday Ornament Wall Hangings

So what do you guys think? I’m so pleased with how it turned out. Now it’s time for the hop! This was a Thrift Store Blog Hop Challenge, so many other talented and inspiring bloggers participated. Be sure to click on the links below to see all the creative projects each blogger came up with. They are absolutely amazing, and I’m honored to have been included in this group of talented, creative, inspiring bloggers. You don’t want to miss one of these awesome projects! And a special thank you again to Alice who invited me and challenged me to see beyond the surface.